Leading up to my Thru Hike of the PCT I found myself second guessing my gear choices. What I once thought was a perfect setup was starting to look a little bulky. My Big Agnes Copper Spur was an amazing tent but ultralight pole-less shelters looked like a solid place to save weight without sacrificing comfort. After a bit of research I decided to pull the trigger on Gossamer Gear’s “The One”. With my Copper Spur safely on standby and 10oz shaved off my base weight I set out from the Mexican border with “The One” hoping that like myself it would make it all the way to Canada.
THIS WAS “THE ONE”
Looking to save weight before embarking on the PCT was a challenge and since I wasn’t willing to part ways with smaller items I decided to rebuy the big three. Although I loved my Big Agnes Copper Spur I knew I could easily go lighter. Knowing that I would spend the next 5+ months living out of this shelter the idea of going smaller made me uneasy. Having spent some time in tents with front door entrances I knew to avoid their coffin like designs. Single trekking pole shelters looked equally claustrophobic and I had no desire to go more minimal than that. This led me to the two trekking pole shelter design. The Z-Packs Duplex looked to be the frontrunner in this category but the price tag was higher than I wanted to go. Luckily for me Gossamer Gear had a similar design only slightly heavier and in my opinion much better looking. This was “The One”
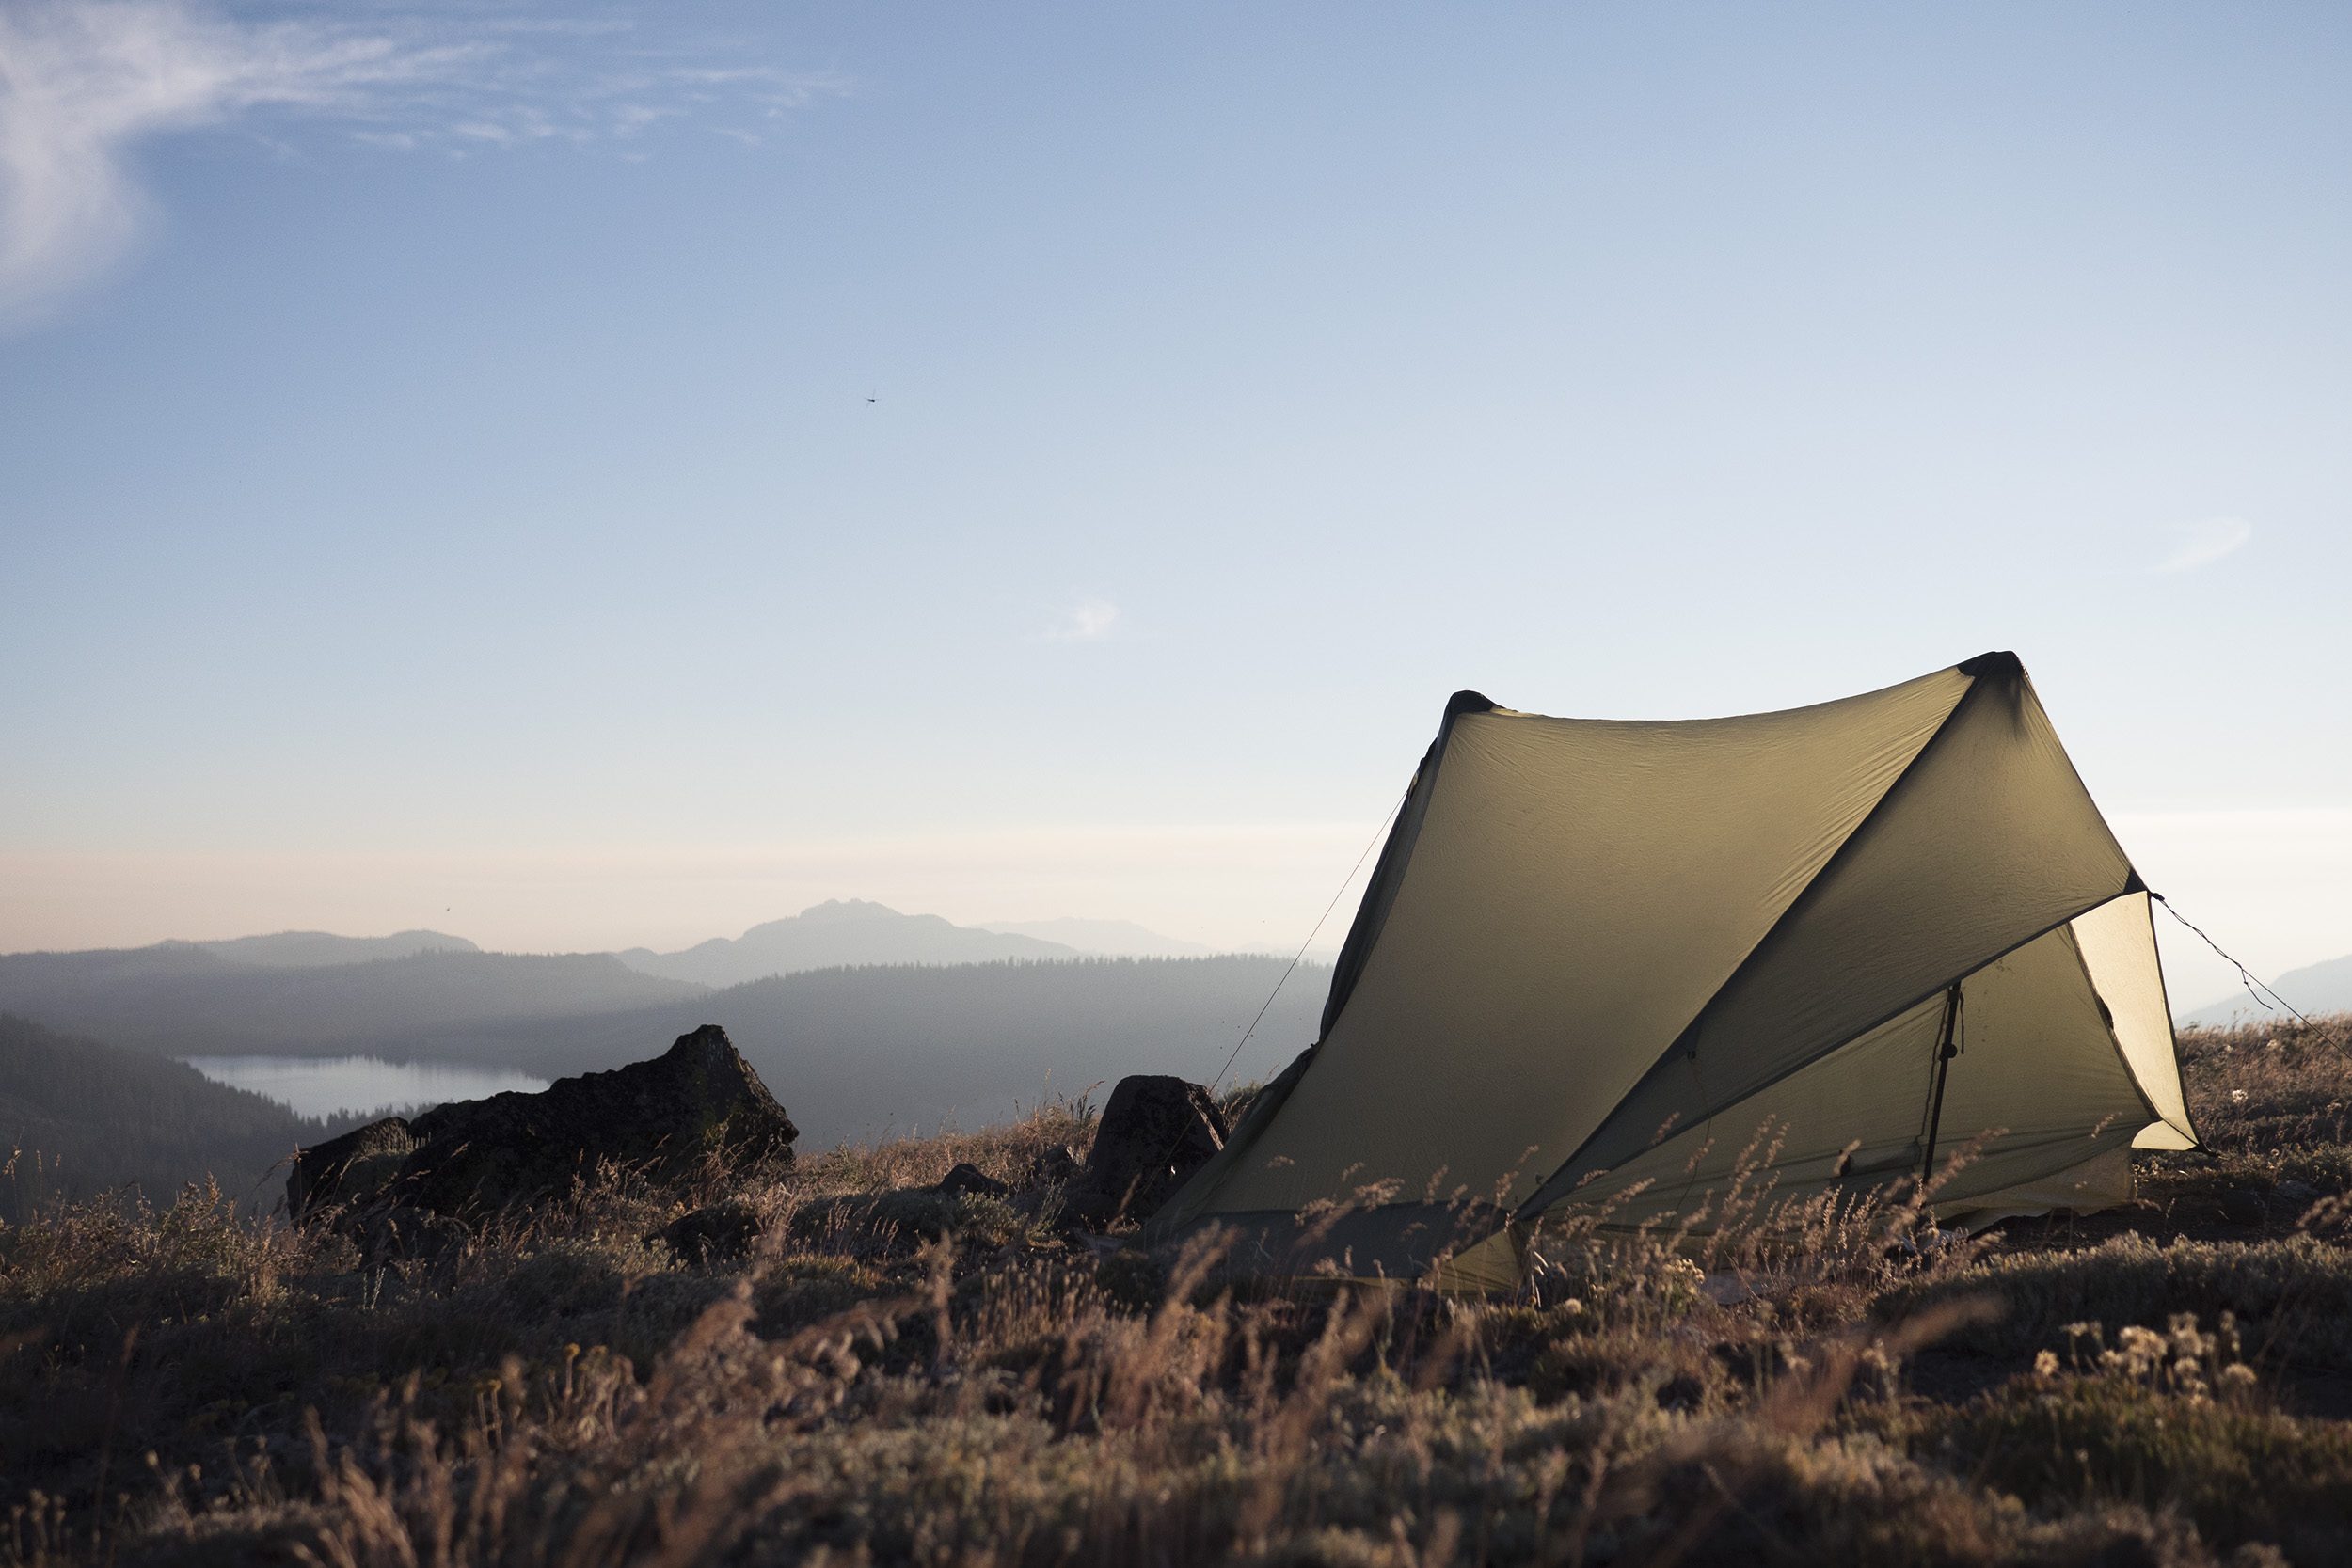
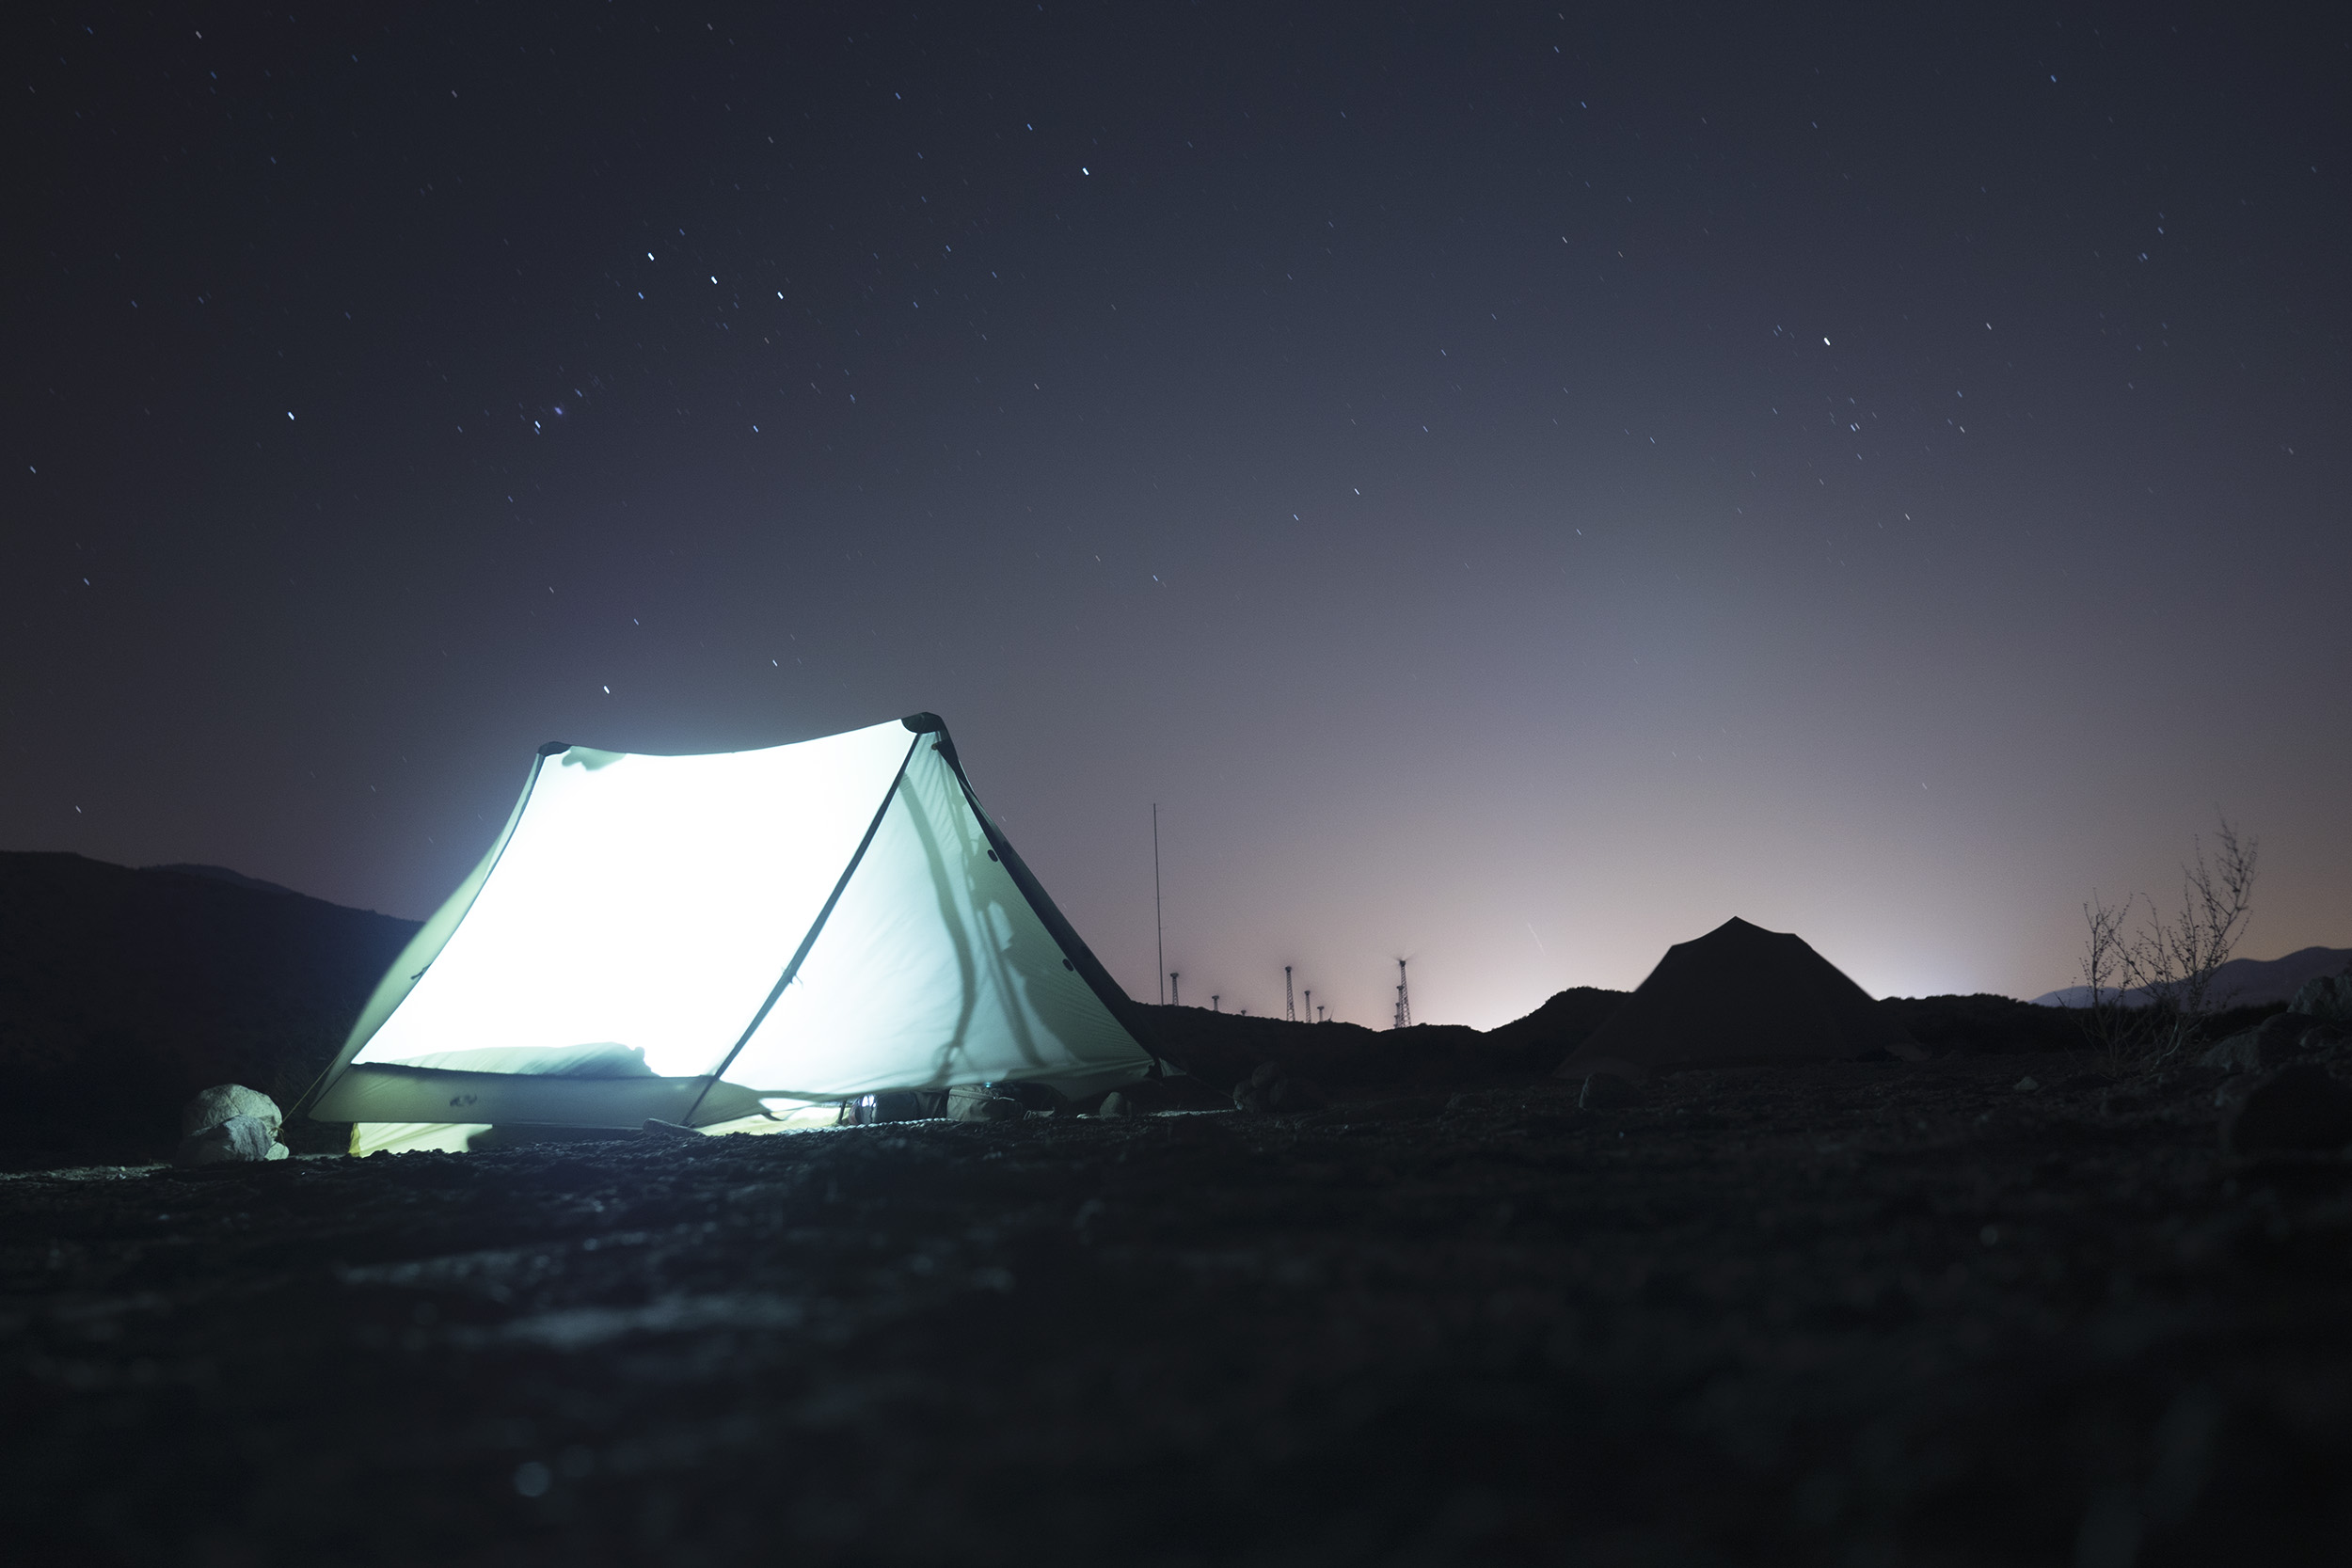
ALWAYS STOOD STRONG
Setting “The One” up isn’t too tricky but it does have a slight learning curve. To properly set it up you really want around 10 stakes, which is a lot. 6 to stake out the outside walls and 4 for the inner bathtub wall. I’ve seen some folks who tie the bathtub floor to the outside wall lines to save weight but when I tried this the floor always seemed awkwardly stretched out. It also makes the initial setup harder since you really want the floor to be staked out before you put your trekking poles in place. Of course you can figure out what works best for you but for me it was nice to have the floor evenly staked out to get a perfect pitch every time. I carried 4 lightweight hook stakes for the tub and 6 larger aluminum stakes for the outside walls. When properly staked out “The One” can withstand some intense wind. We experienced very heavy winds in the Mojave causing the shelter to flex and bend to a point where I thought the whole thing would blow away but it always stood strong. Reinforcing your stakes with a few rocks in extreme weather is always a good idea though. If needed there are 4 extra tie outs to take advantage of as well. At some point I had two guylines sent back to me and used them occasionally during windy or rainy weather.
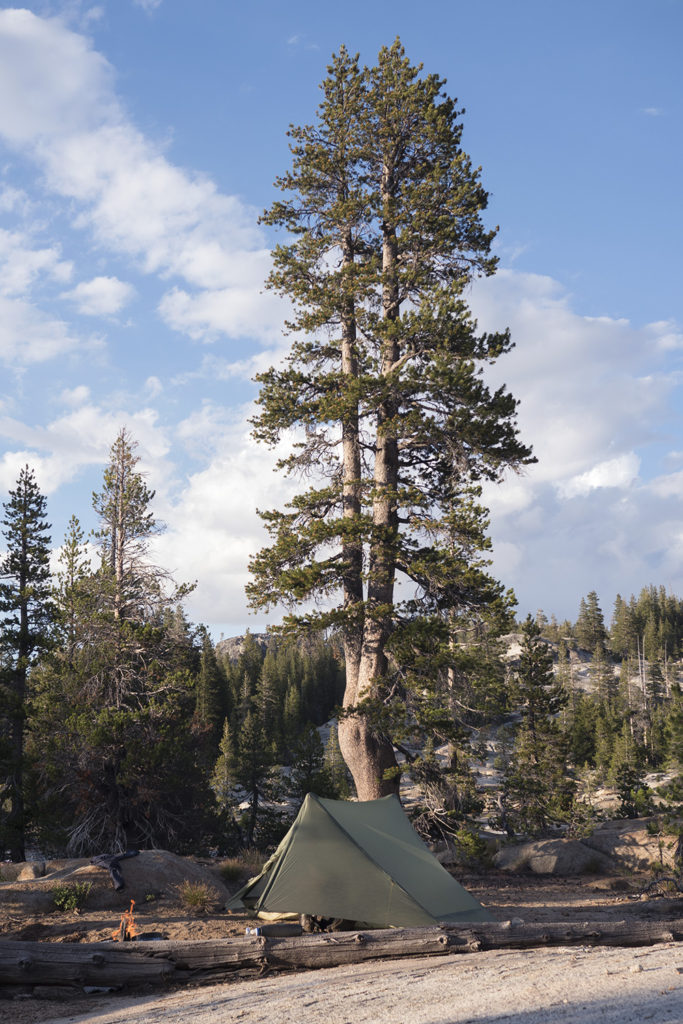
Because “The One” is a fairly large shelter that relies on being staked out for its structure you really want a decent sized plot of land to set up. If you can’t stake out the walls with a good amount of room the shelter ends up being a little saggy. This wasn’t too big of a deal but it means passing up small sites that a fly creek or MSR Hubba could easily fit in. Uneven ground can make for some really awkward setups as well. Eventually you get the hang of scouting the perfect spot but I was envious of tents that could squeeze in wherever.
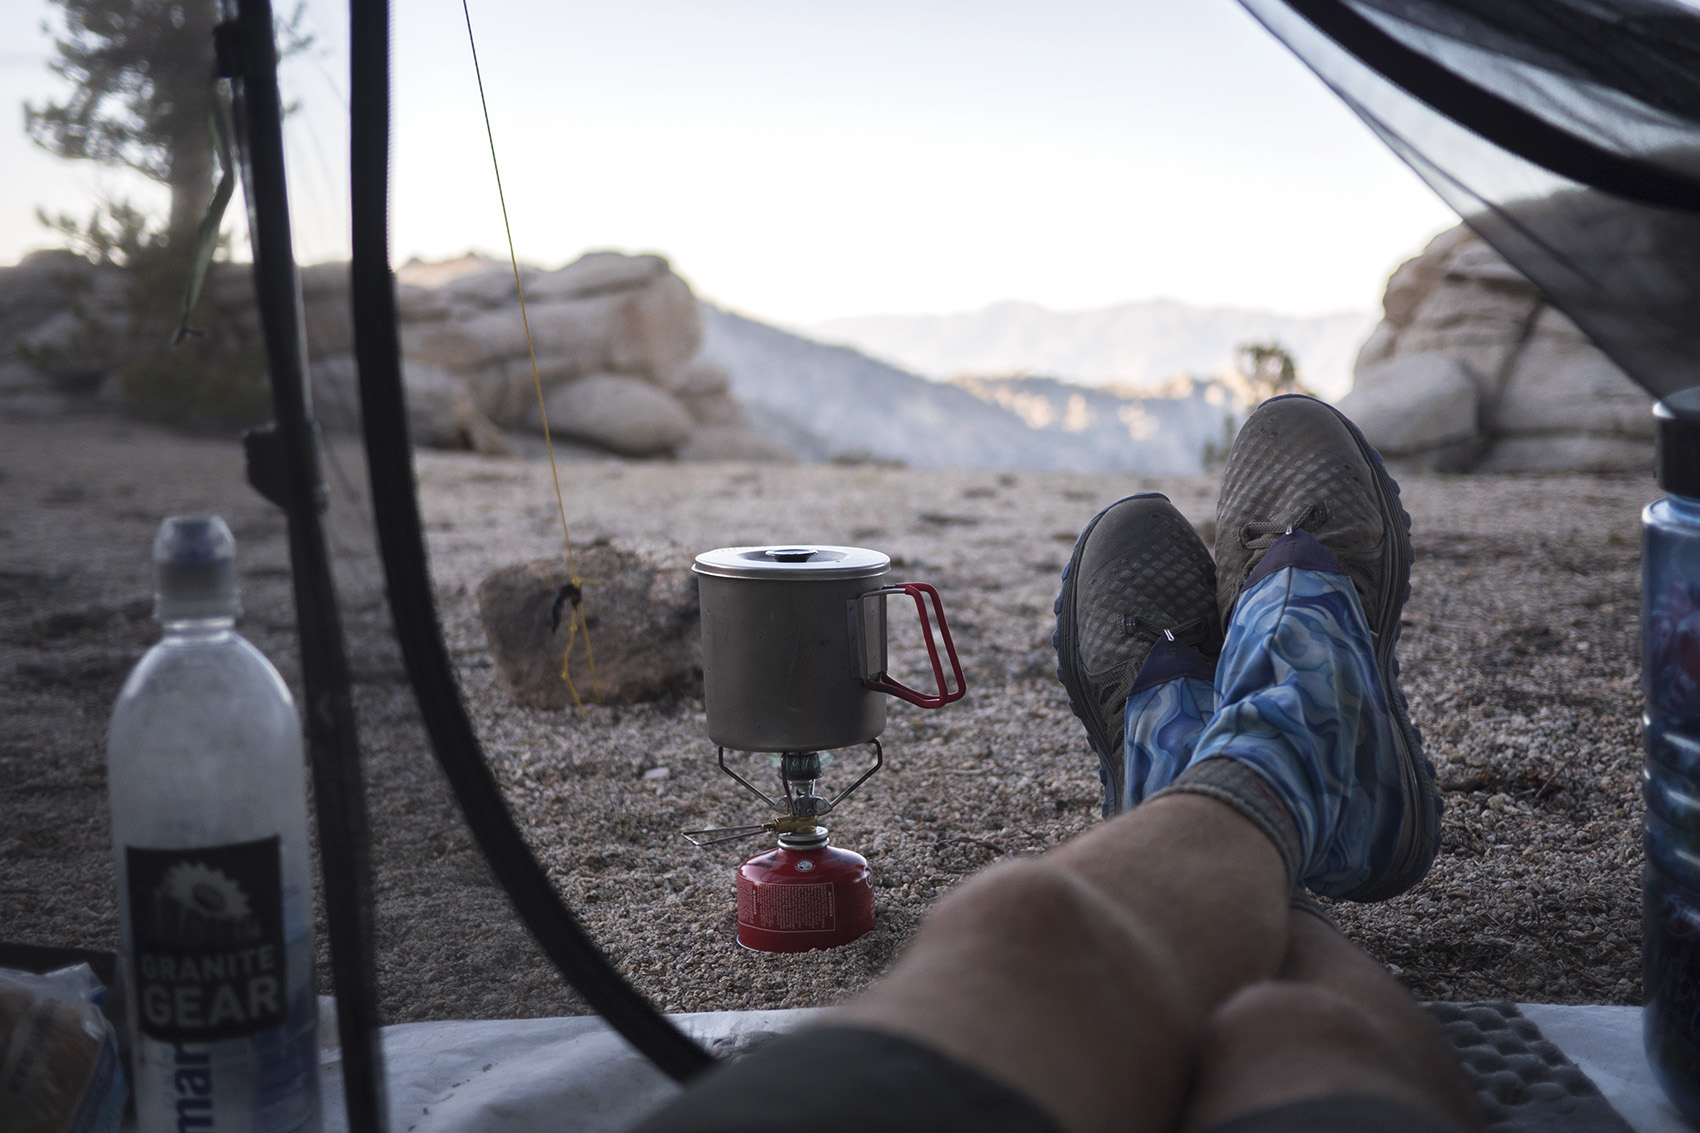
I’m 5’11” and fit comfortably on top of my large neoair mattress with room behind my head and below my feet. Having that little bit of room is great for storing gear you want inside the shelter. I like to bring my electronics, toiletries, and clothes inside at night and they all fit neatly behind and around my head. You also have a good deal of room on the sides which is nice for storing other items and leaves some room between you and the walls of the shelter. If you don’t like to bring things inside the shelter the vestibule on “The One” is massive. My pack easily fit under it with tons of room to spare. When the weather was windy or rainy I could also cook under the vestibule without worries of accidents occurring.

The headroom can be really good or just ok depending on how high your poles are. When the weather’s nice I like to have my poles extended high giving me tons of room on all sides of the shelter. When you do this though you leave a large amount of space under the doors allowing wind and cold to more freely enter. Anytime it was windy I would give my shelter a lower profile to make that gap smaller. You have to bring the poles down a lot to almost get no gap and I never found that to be optimal for the overall structure. The One performs best when the trekking poles are a little higher so on windy days you should always think about your placement. That last thing you want is a ton of cold air blowing under your door and circulating around the shelter. The openness of the back seems designed to let that airflow out but it’s not perfect. When the wind is blowing hard it tends to catch the middle of the walls at the ends of the shelter pushing them inward. I could feel the walls pushing against my head as I slept when it was really windy. Even with the extra guy lines set up, this still tends to occur which makes me wish for a centered guyline hook like The Two man version of this shelter currently has. It seems like an easy addition that would greatly help with this issue. This problem is made worse when condensation comes into play and touching the walls of the shelter means getting wet.
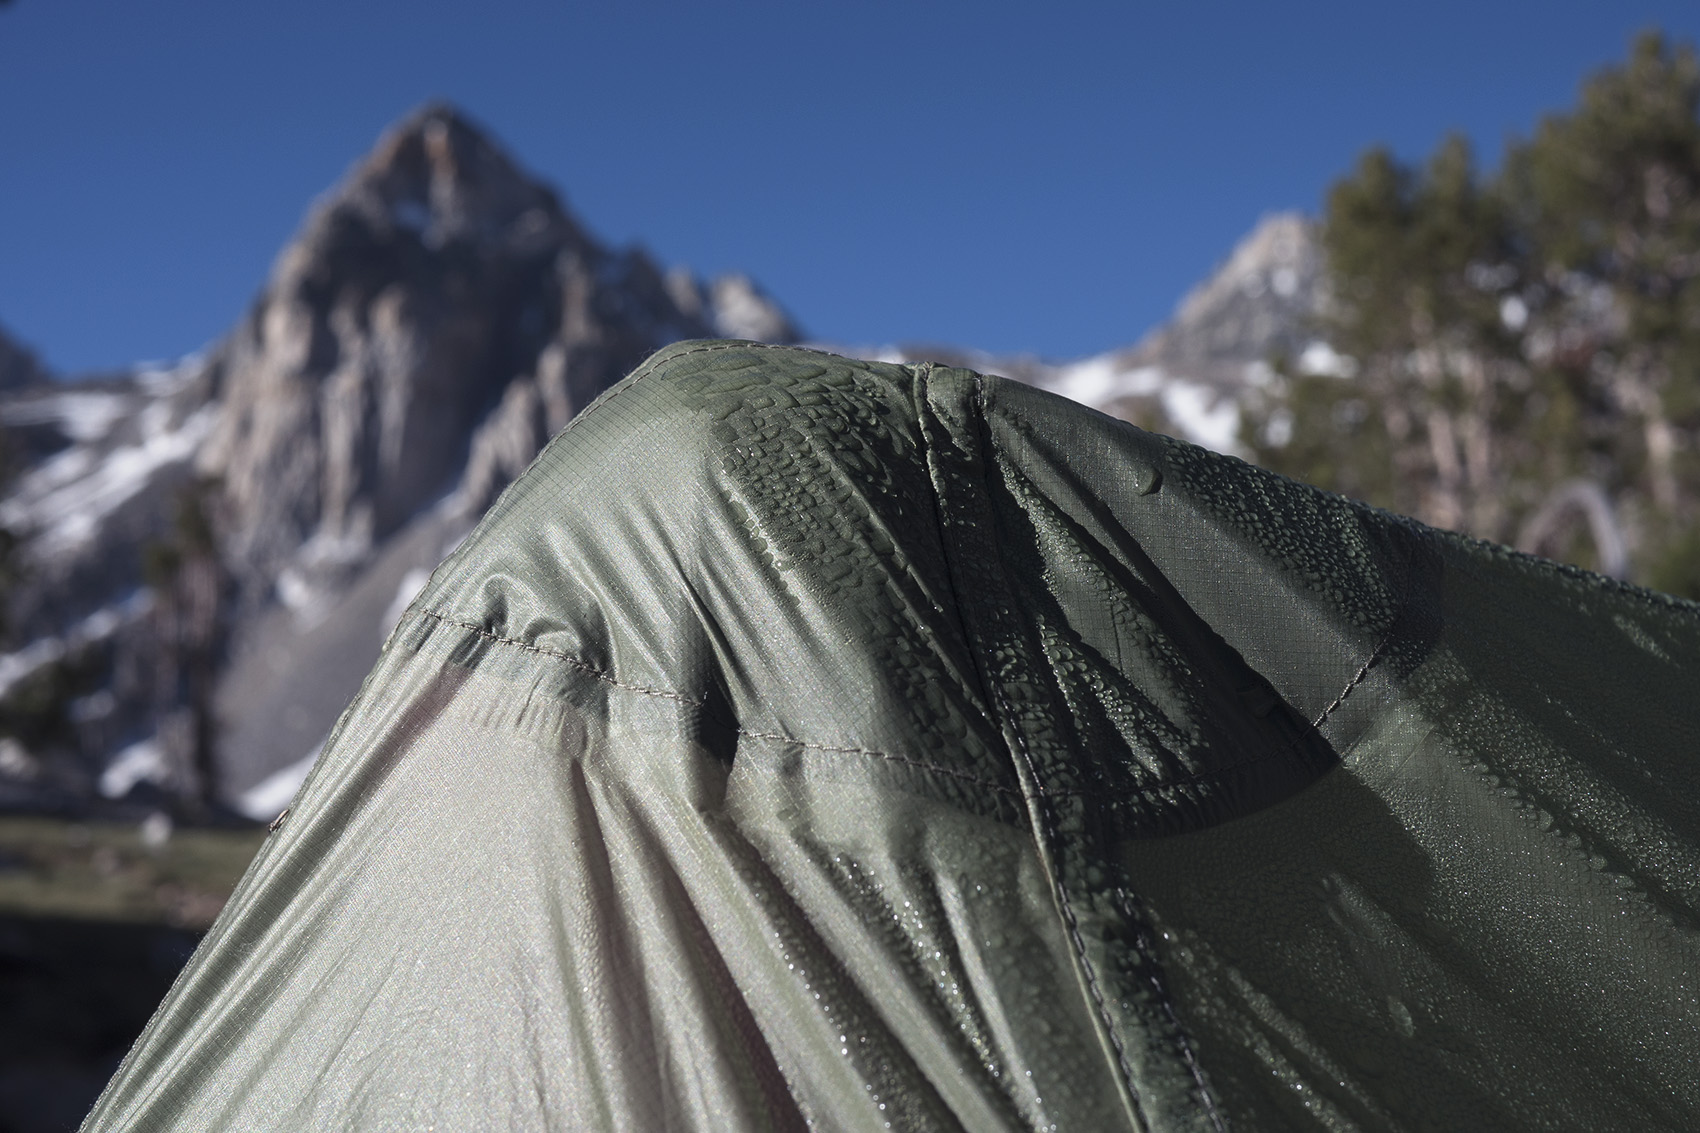
CONDENSATION ISSUE
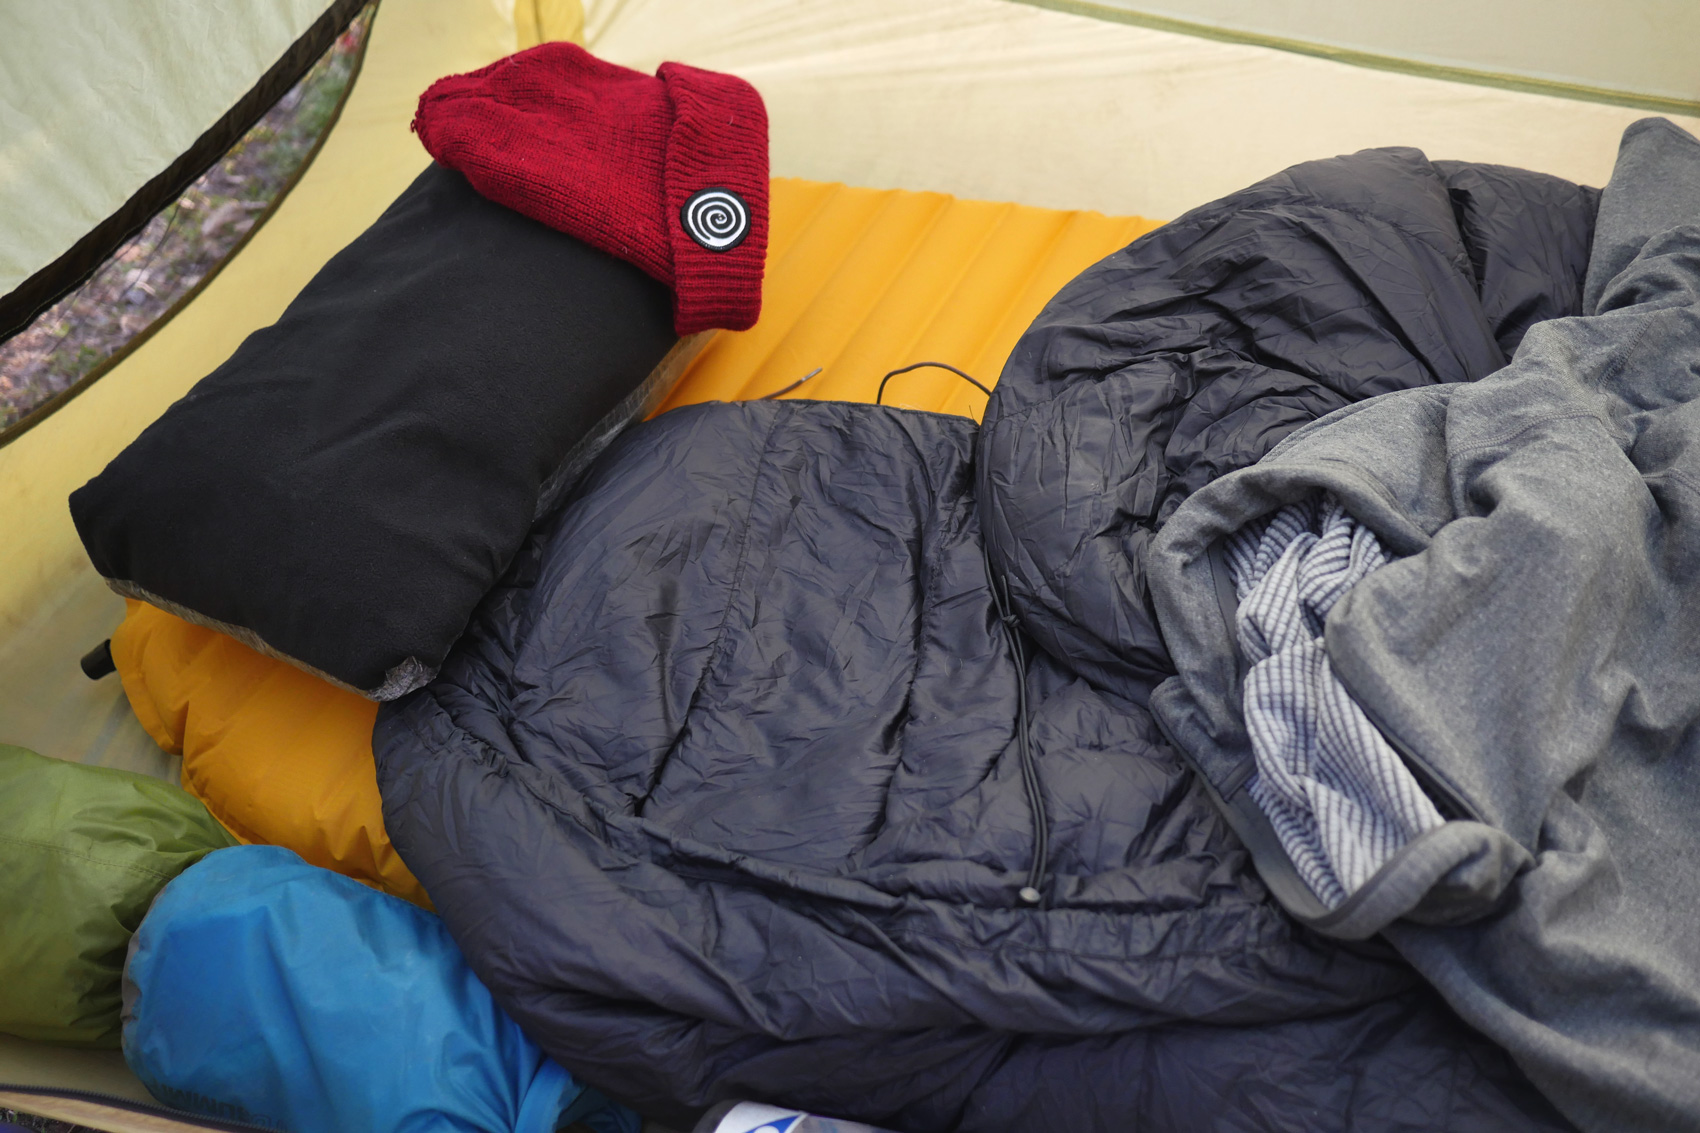
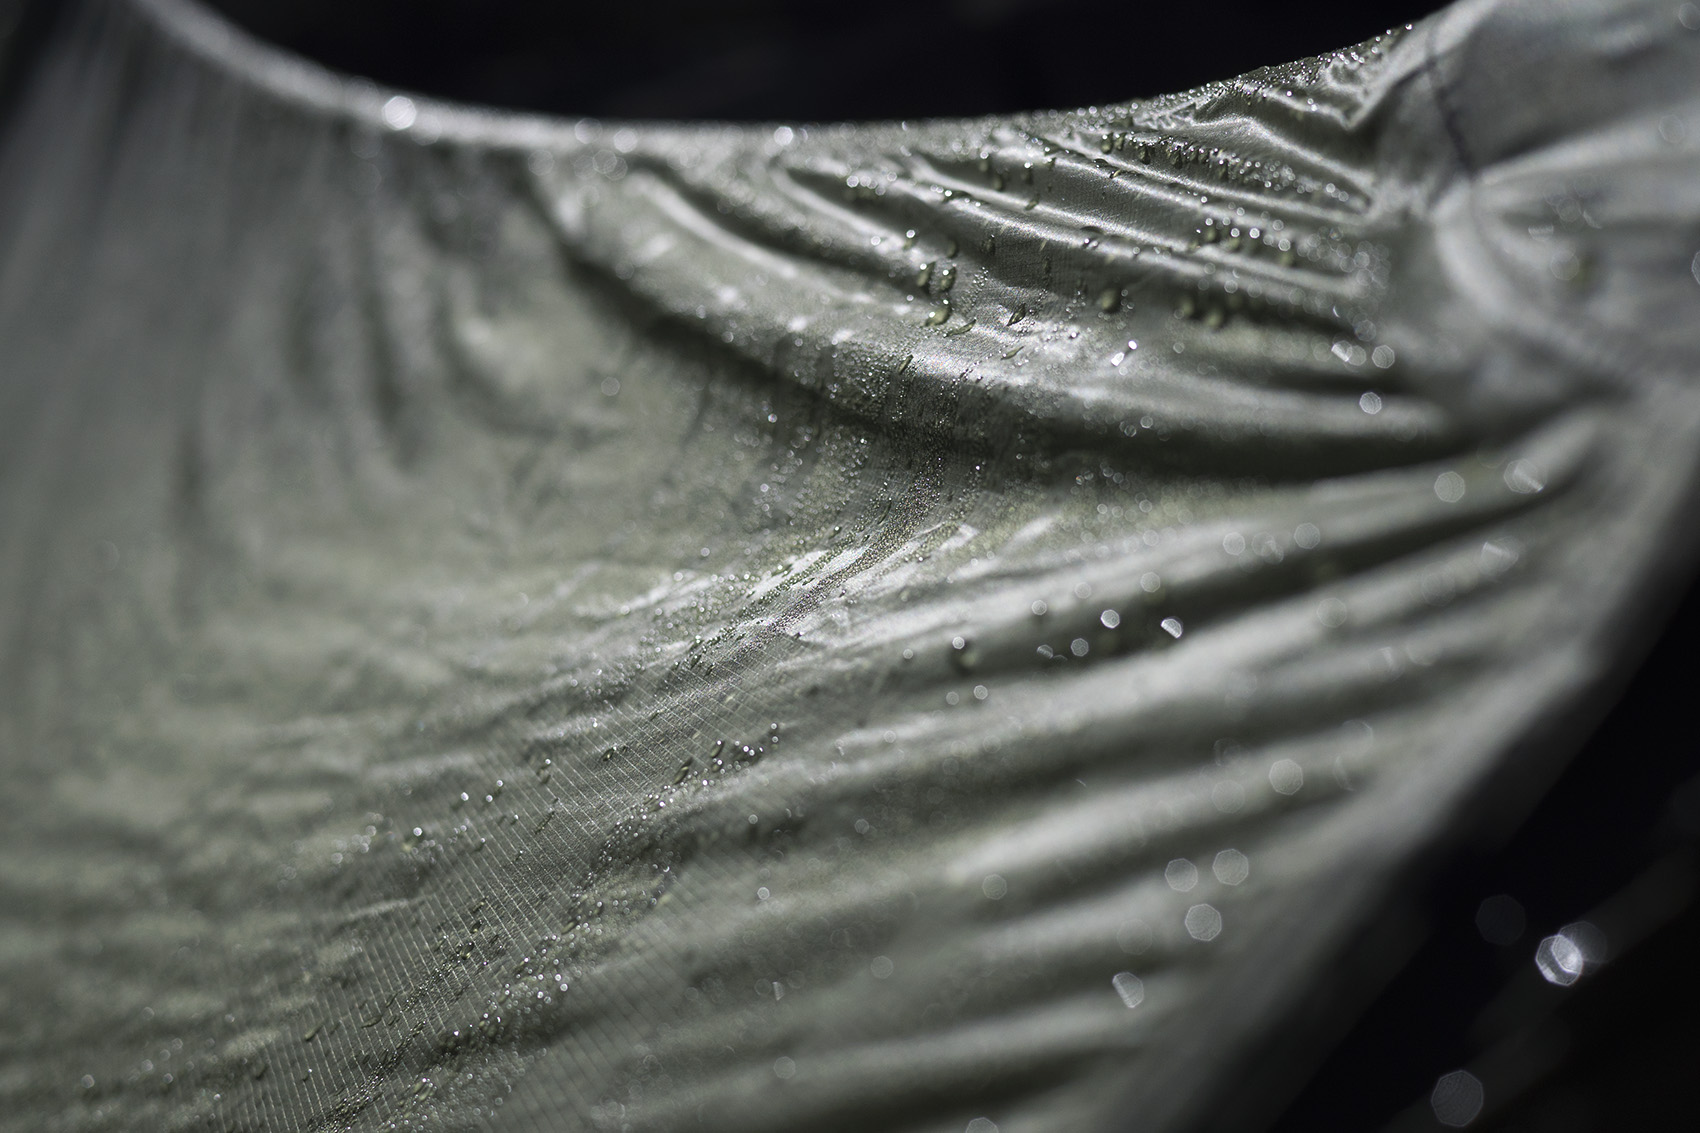
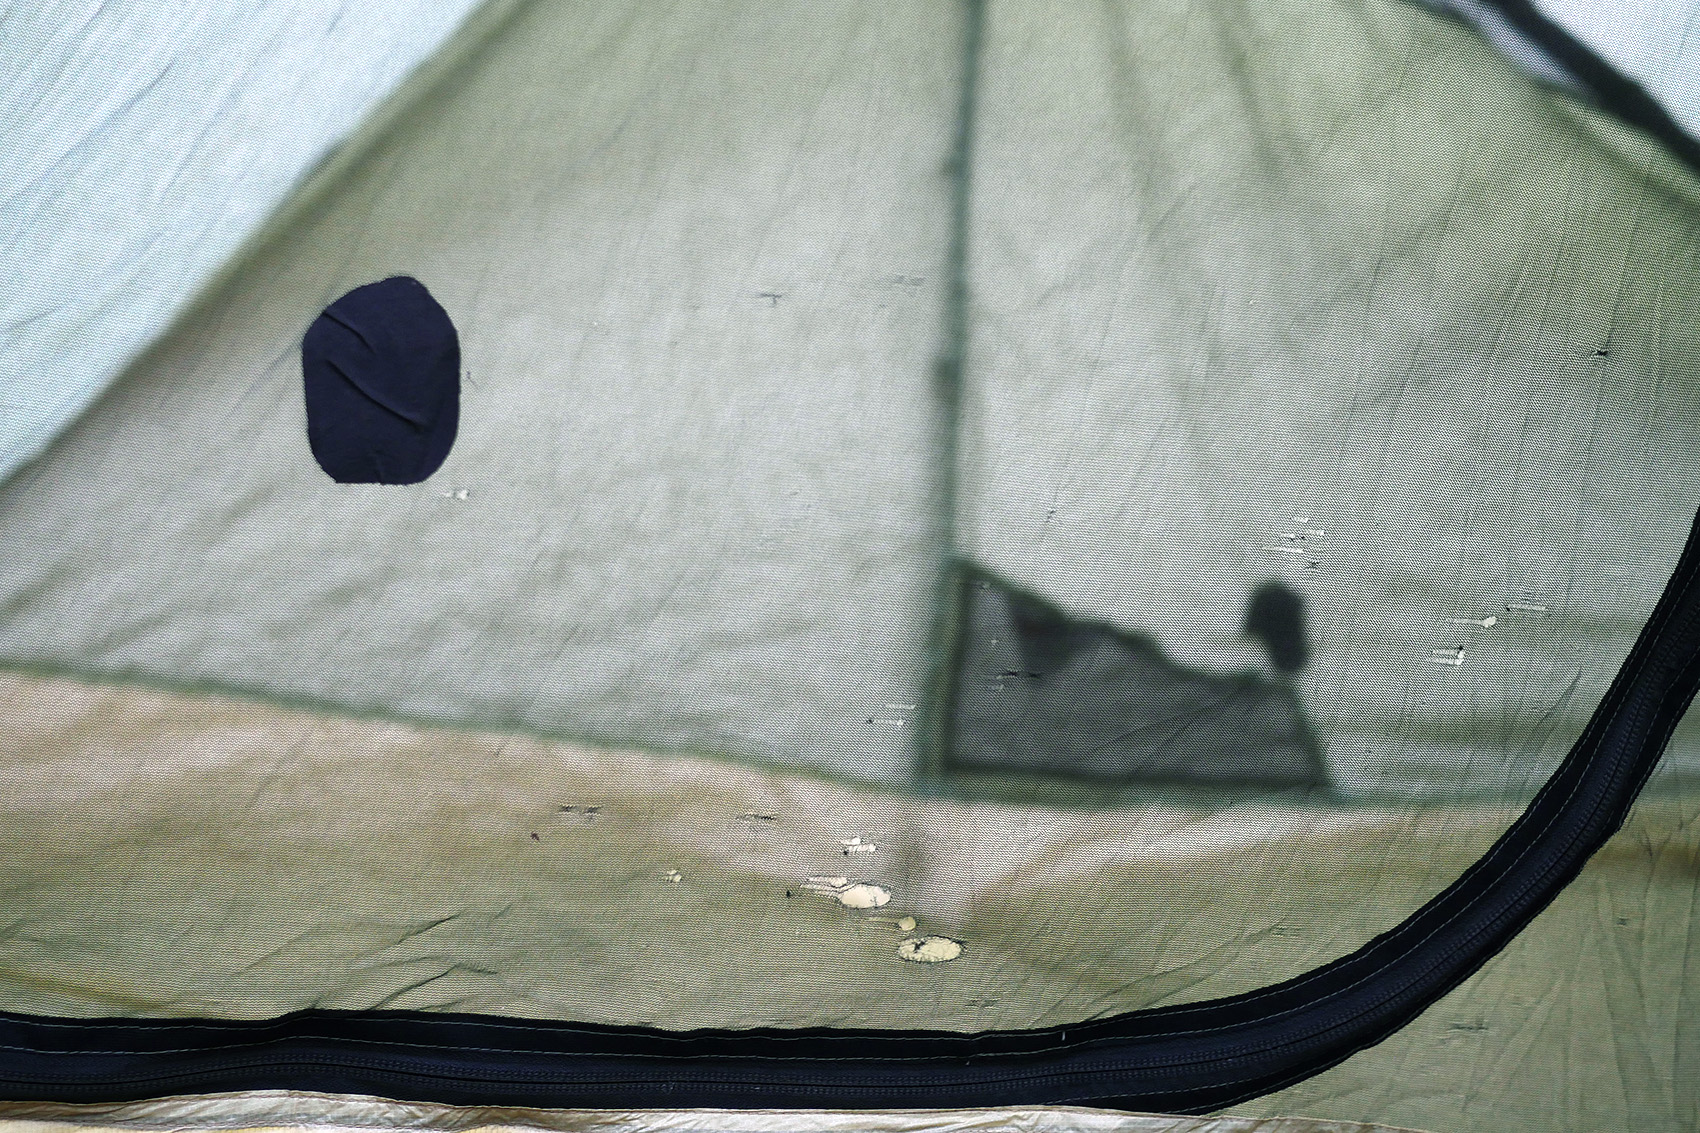
The biggest difference going from a traditional tent with a rain fly to a single wall shelter has to be the condensation issue. Nothing could have prepared me for the first time I camped near water during a humid night and woke to find the inside walls drenched. Bumping the walls and causing a shower of water droplets to fall onto my dry gear was a nightmare. Knowing I would have to put away my shelter with the entire inside soaked drove me nuts. What was the point of a waterproof shelter that wets out this badly inside from condensation? This issue really drove me crazy at first and I’m not sure if I ever got used to it but I did learn to deal with it. It’s not really an issue with “The One” itself but with all single walled shelters in general. To “The Ones’ credit its ventilation is excellent but it still frequently succumbs to condensation. Some folks carry around a sponge to help dry off the walls in the morning and I tried this but it didn’t seem to help much. The good news is “The One” dries off very quickly in the sun and laying it out during lunch was easy enough. When I couldn’t dry it off during the day it would come back out miserably soggy. Eventually I learned to live with this single wall shelter issue and was thankful for the dry island that is a thermarest blow up mattress. Of course there’s a ton of info on how to alleviate this issue but from my experience it’s going to happen no matter what.
This is how the inside looks as well.
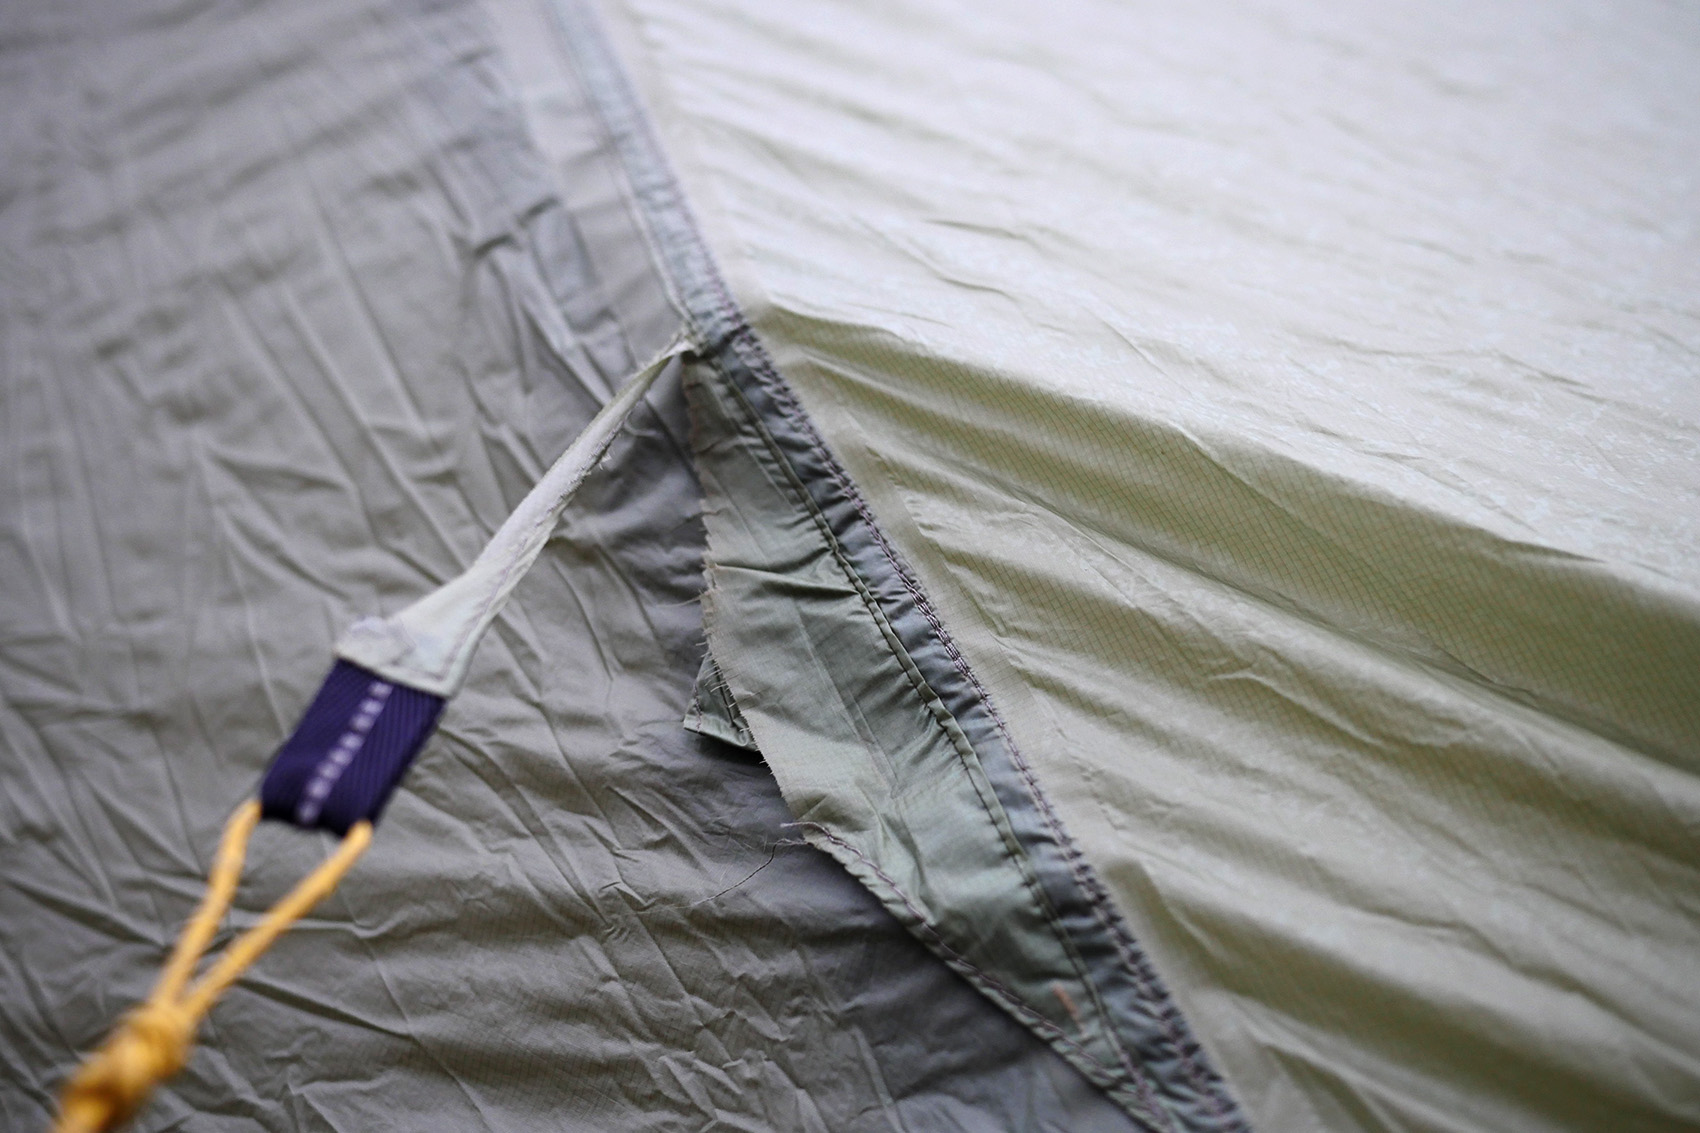
THE DAMAGE DONE
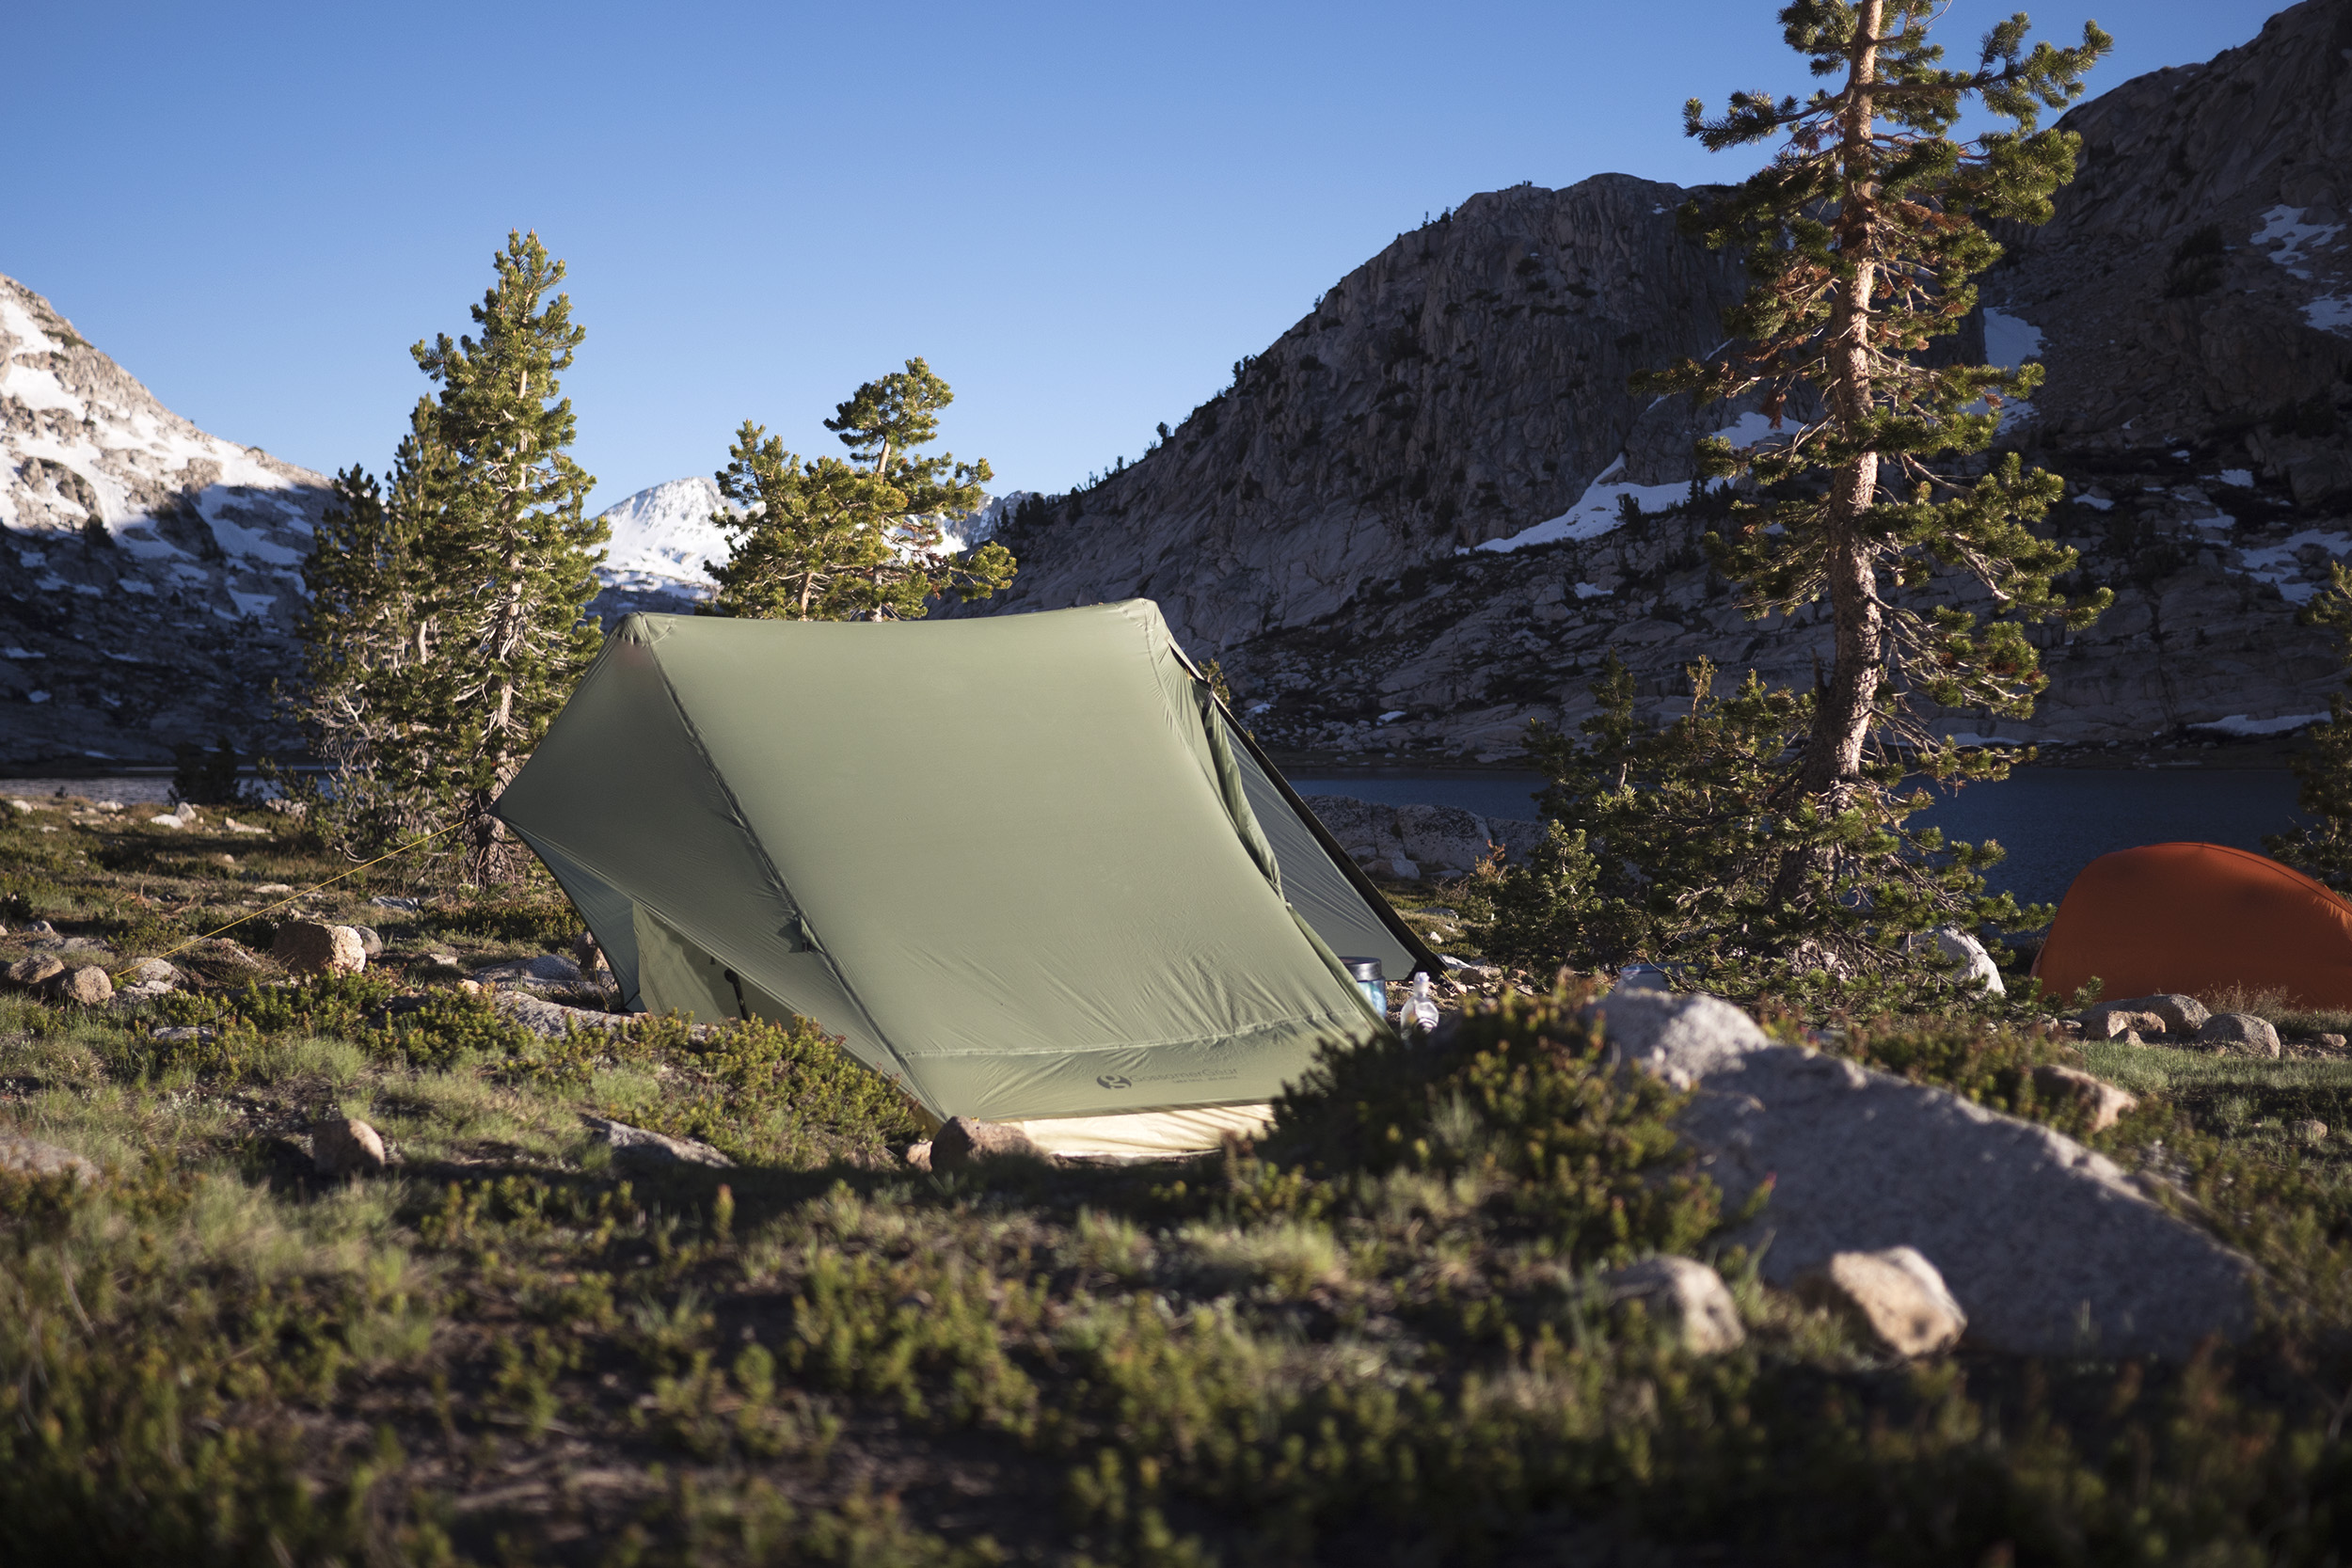
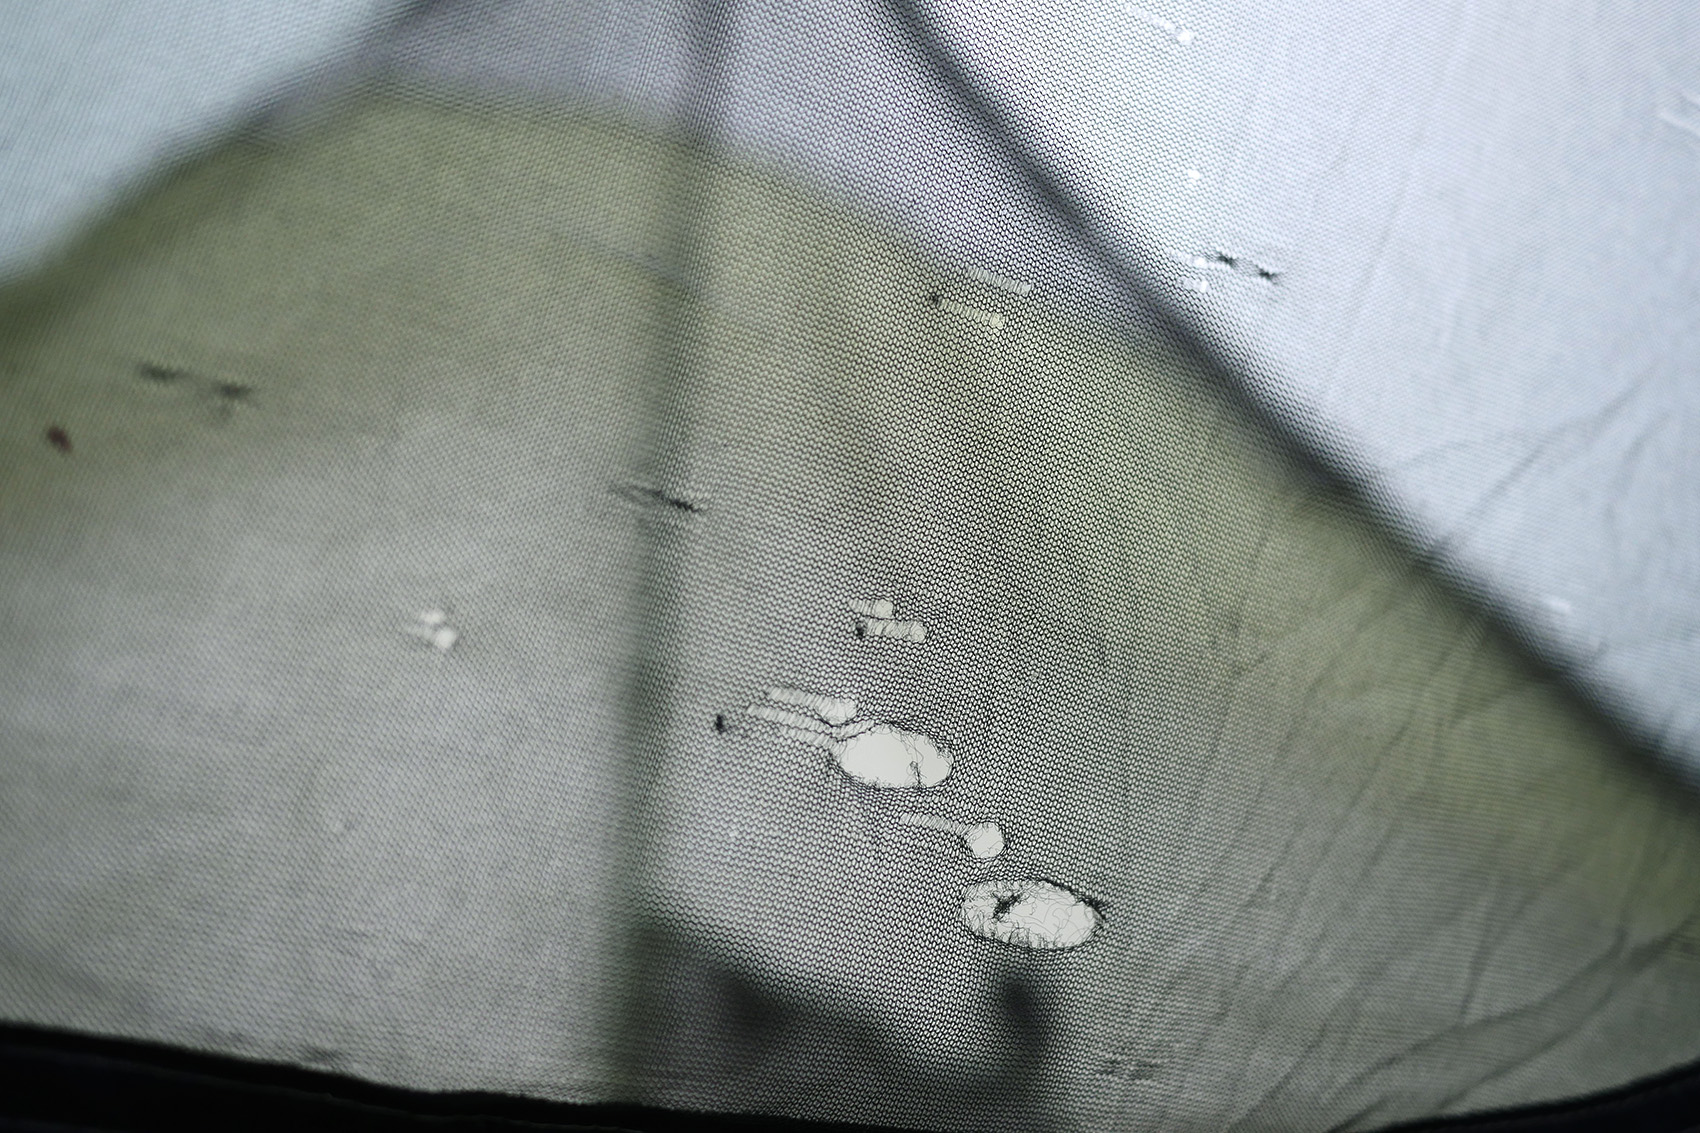
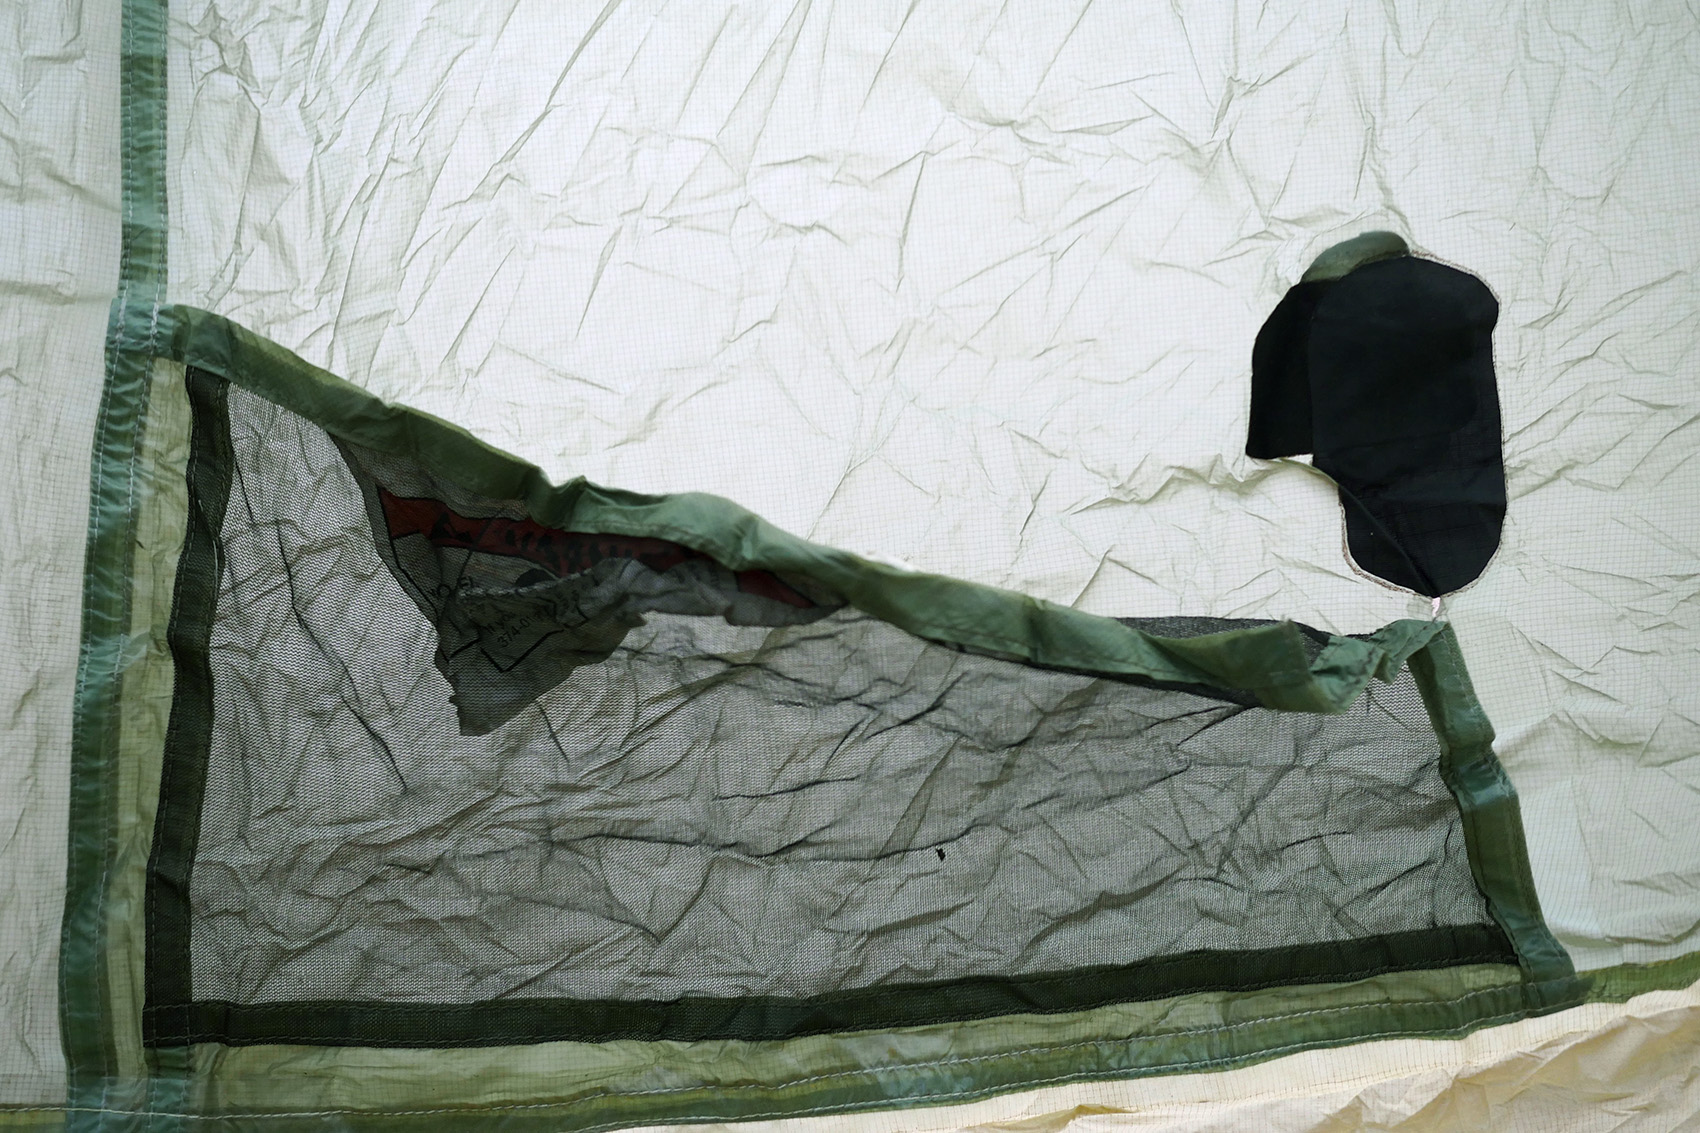
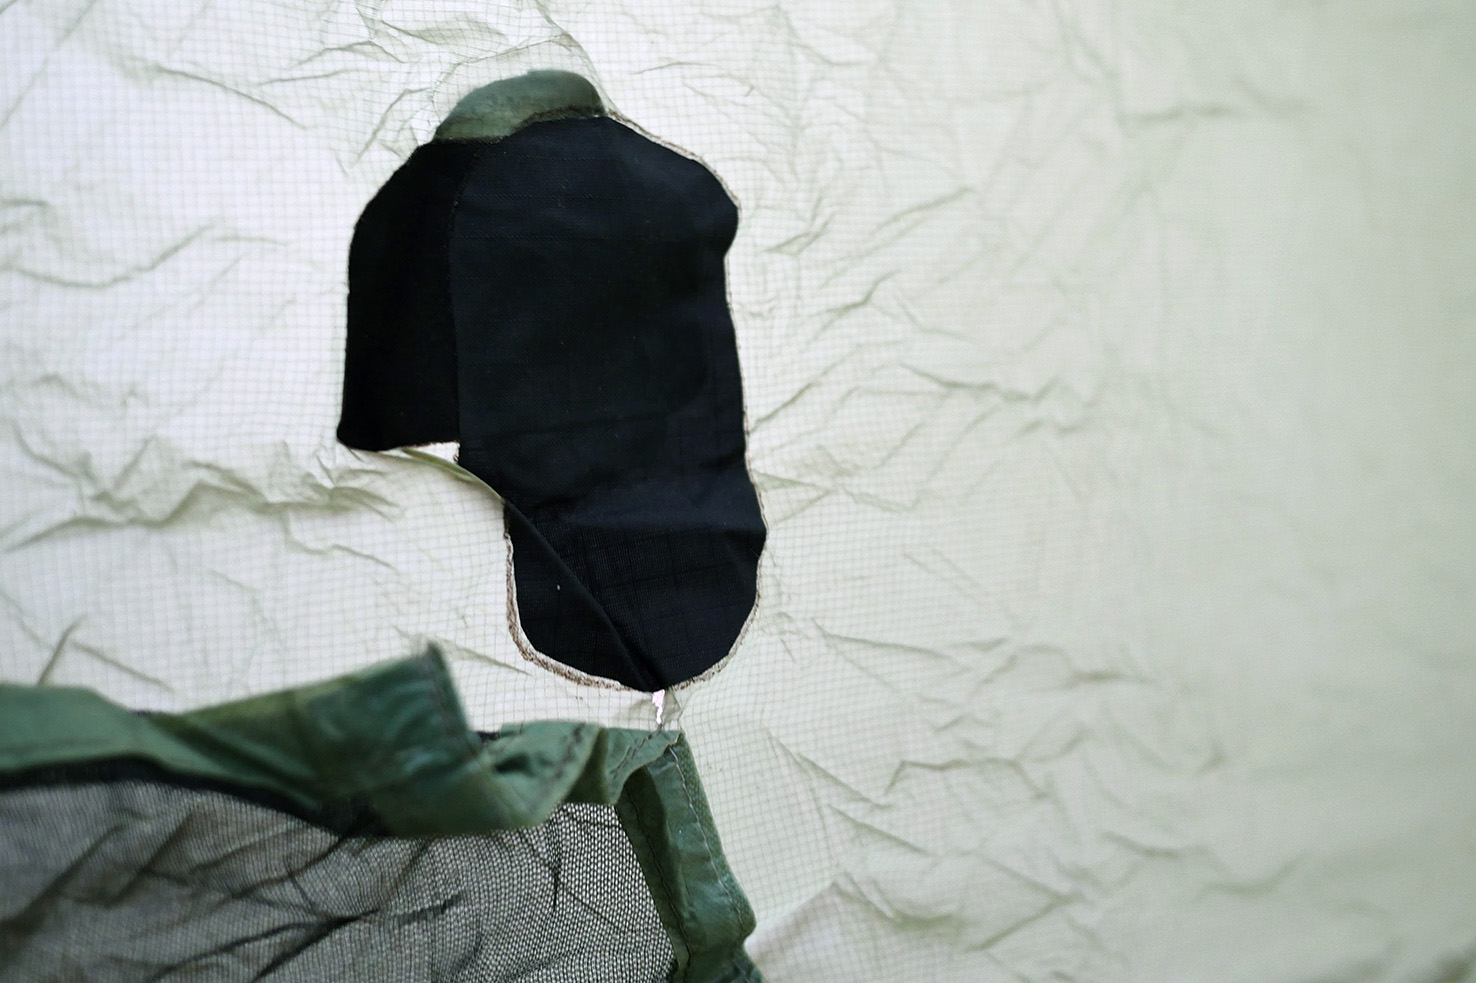
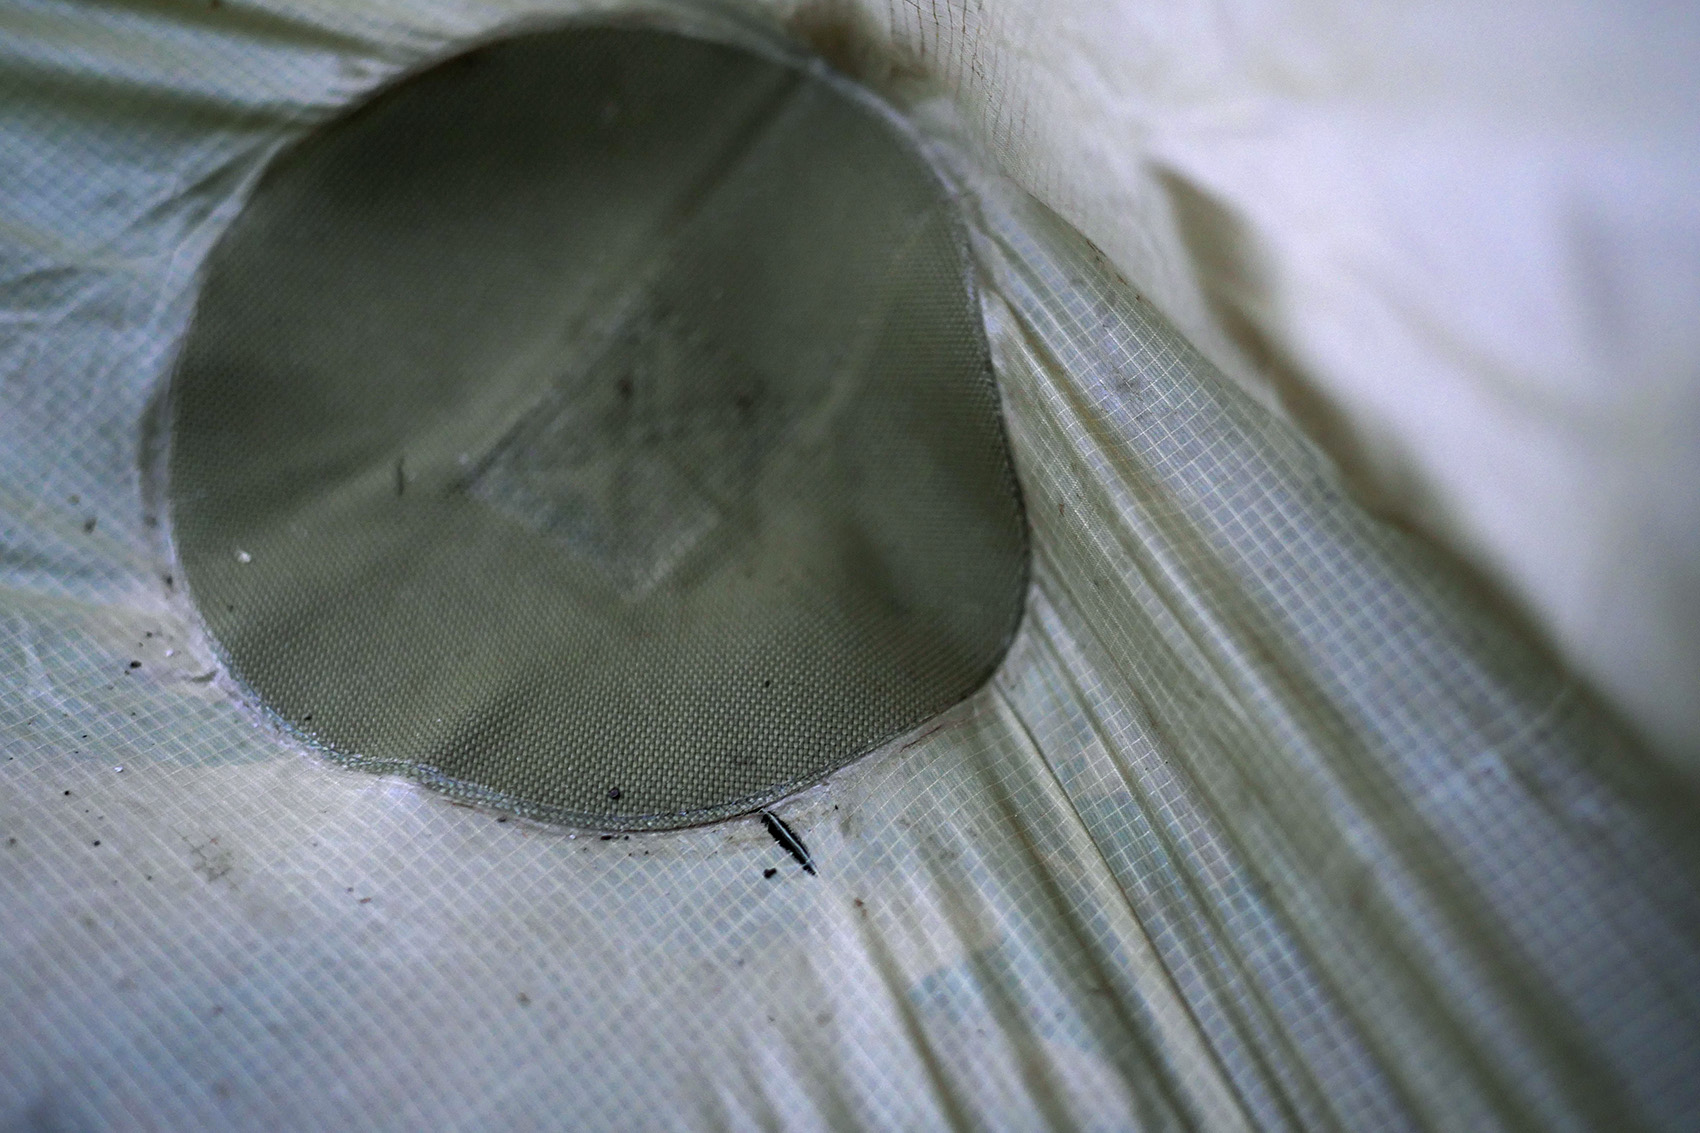
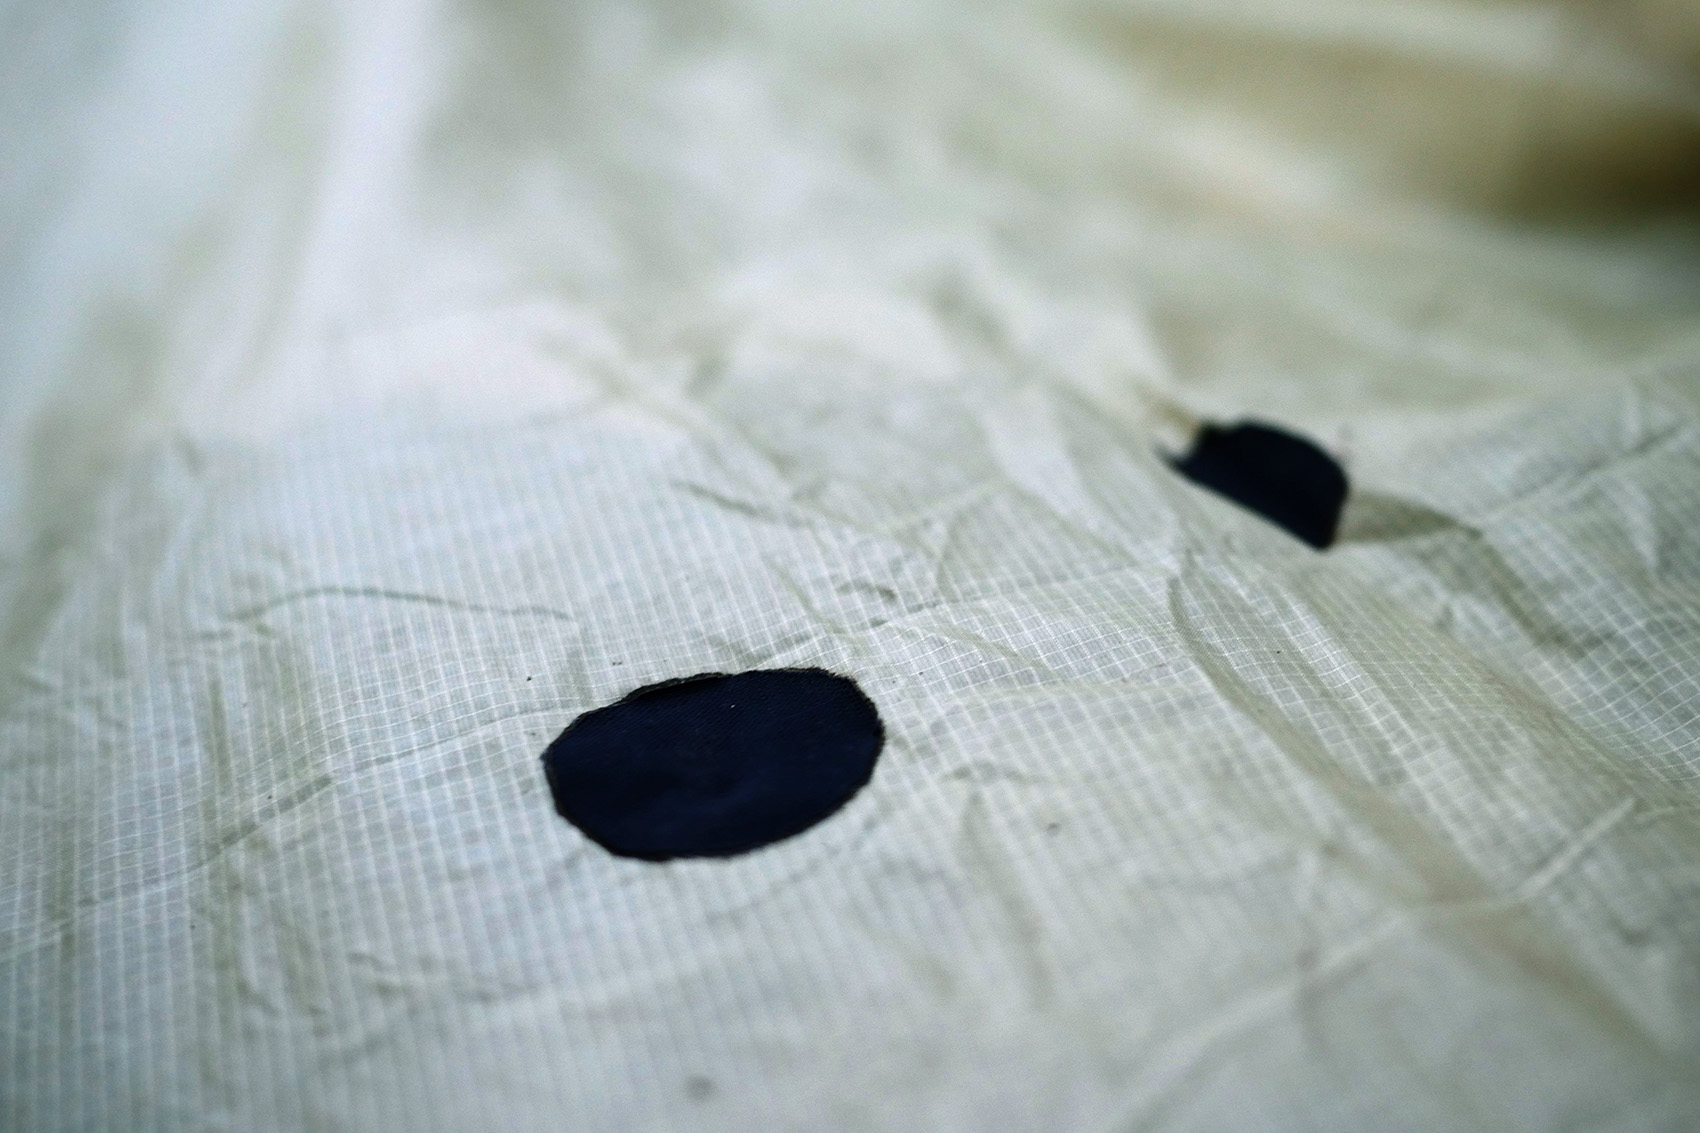
The One held up very well during my thru hike and only suffered a few minor rips and tears. The fabric is pretty tough but due to its lightness it is susceptible to ripping. My foot caught the inner wall pocket multiple times when moving around and once this resulted in a torn hole along the stitching. Maybe if the pocket were not stitched on but attached another way this would not have occurred, I’m not sure. Over time minor tears in the floor and the bug net occurred as well. All of these were easily fixed with a little tenacious tape. Using a ground sheet seemed to stop most tears from occurring on the floor. I used a simple sheet of Tyvek that lasted the entire trail and worked very well with “The One”. The only other damage was to one of the extra guyline tie outs. I forget how it occurred but I assume from walking into the line when it was tied out. It hung on by a strand and still worked the rest of the trip though.
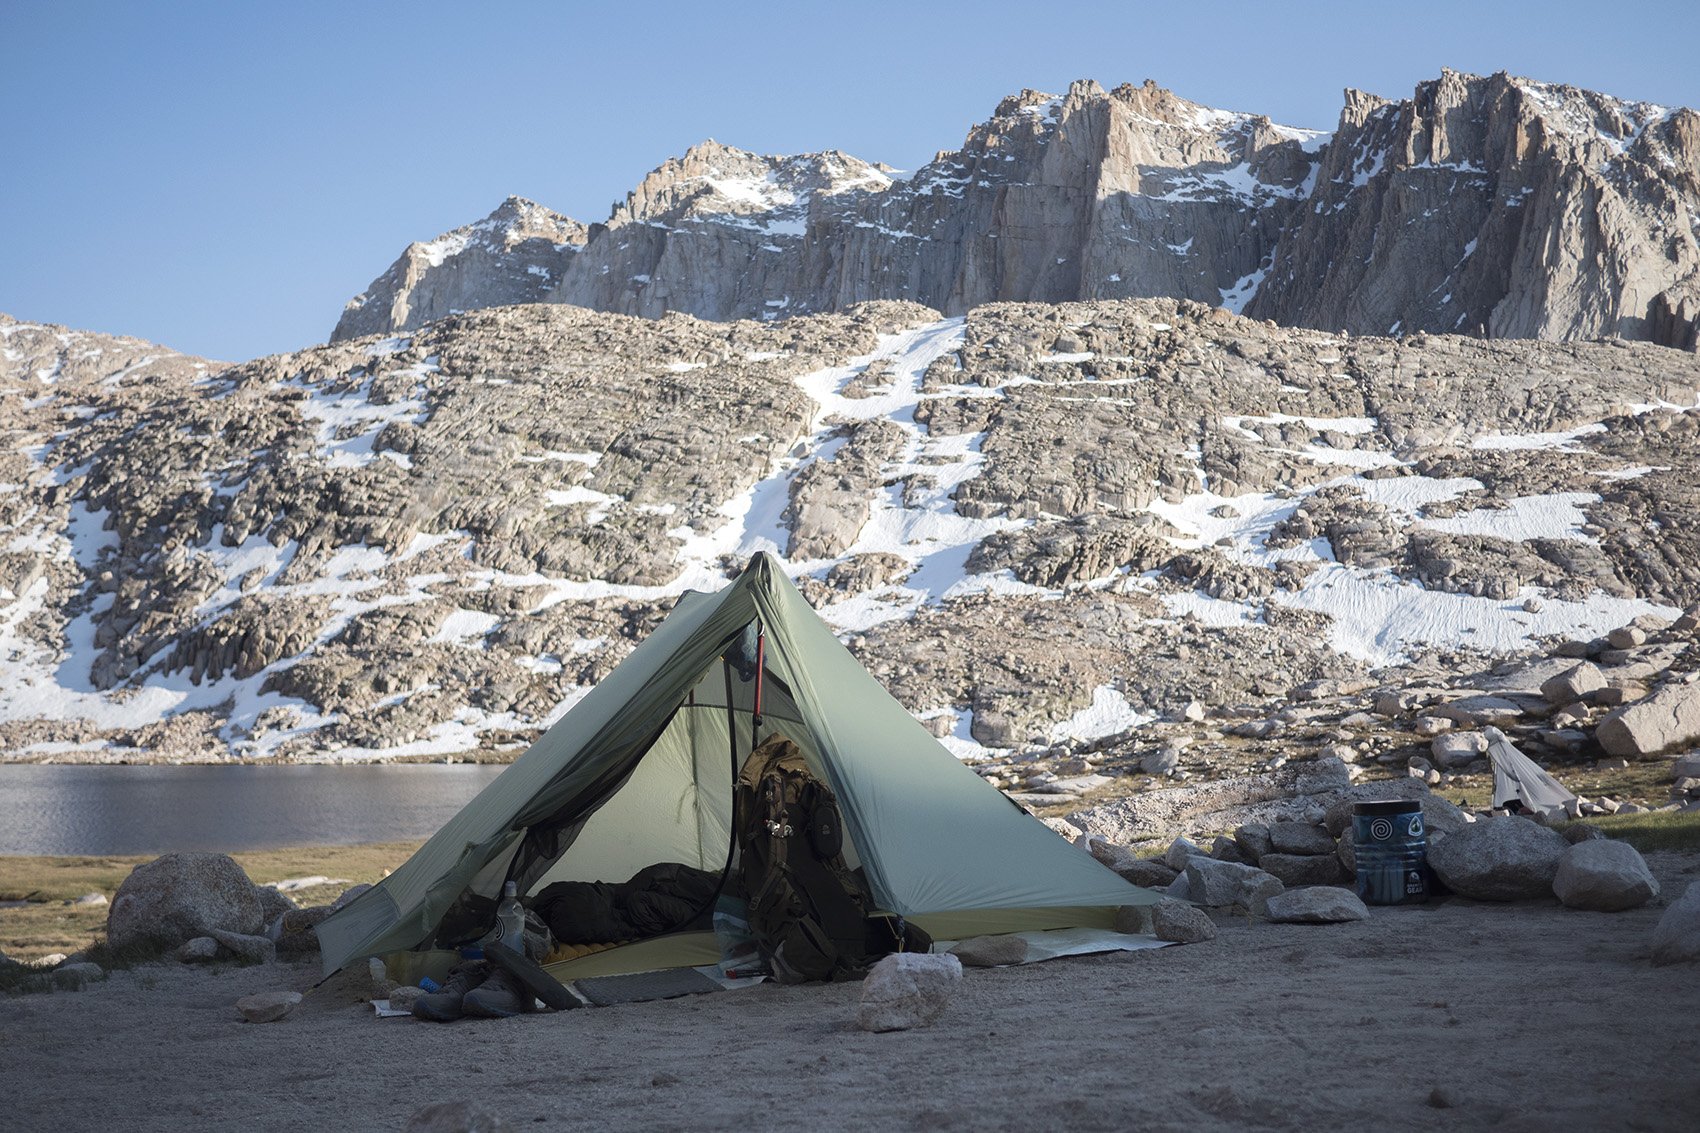
To be fully transparent the shelter pictured below made it with me 4 months on PCT due to getting a replacement after the first 2 months. The reason for the replacement was totally due to user error on my part. My trekking pole had a metal camera mount on top of it that I did not remove before setting up one night. The shelter was not designed for trekking poles with sharp metal blocks on top of them and I did not have it positioned under the reinforced fabric. This resulted in a large tear one evening while tightening down the shelter. This never rendered the shelter unusable but I feared how it would do in the rain. I emailed Gossamer Gear, told them what had happened and that I was hiking the PCT. They quickly sent me a brand new shelter, which arrived at Kennedy Meadows South. Truly amazing customer service.
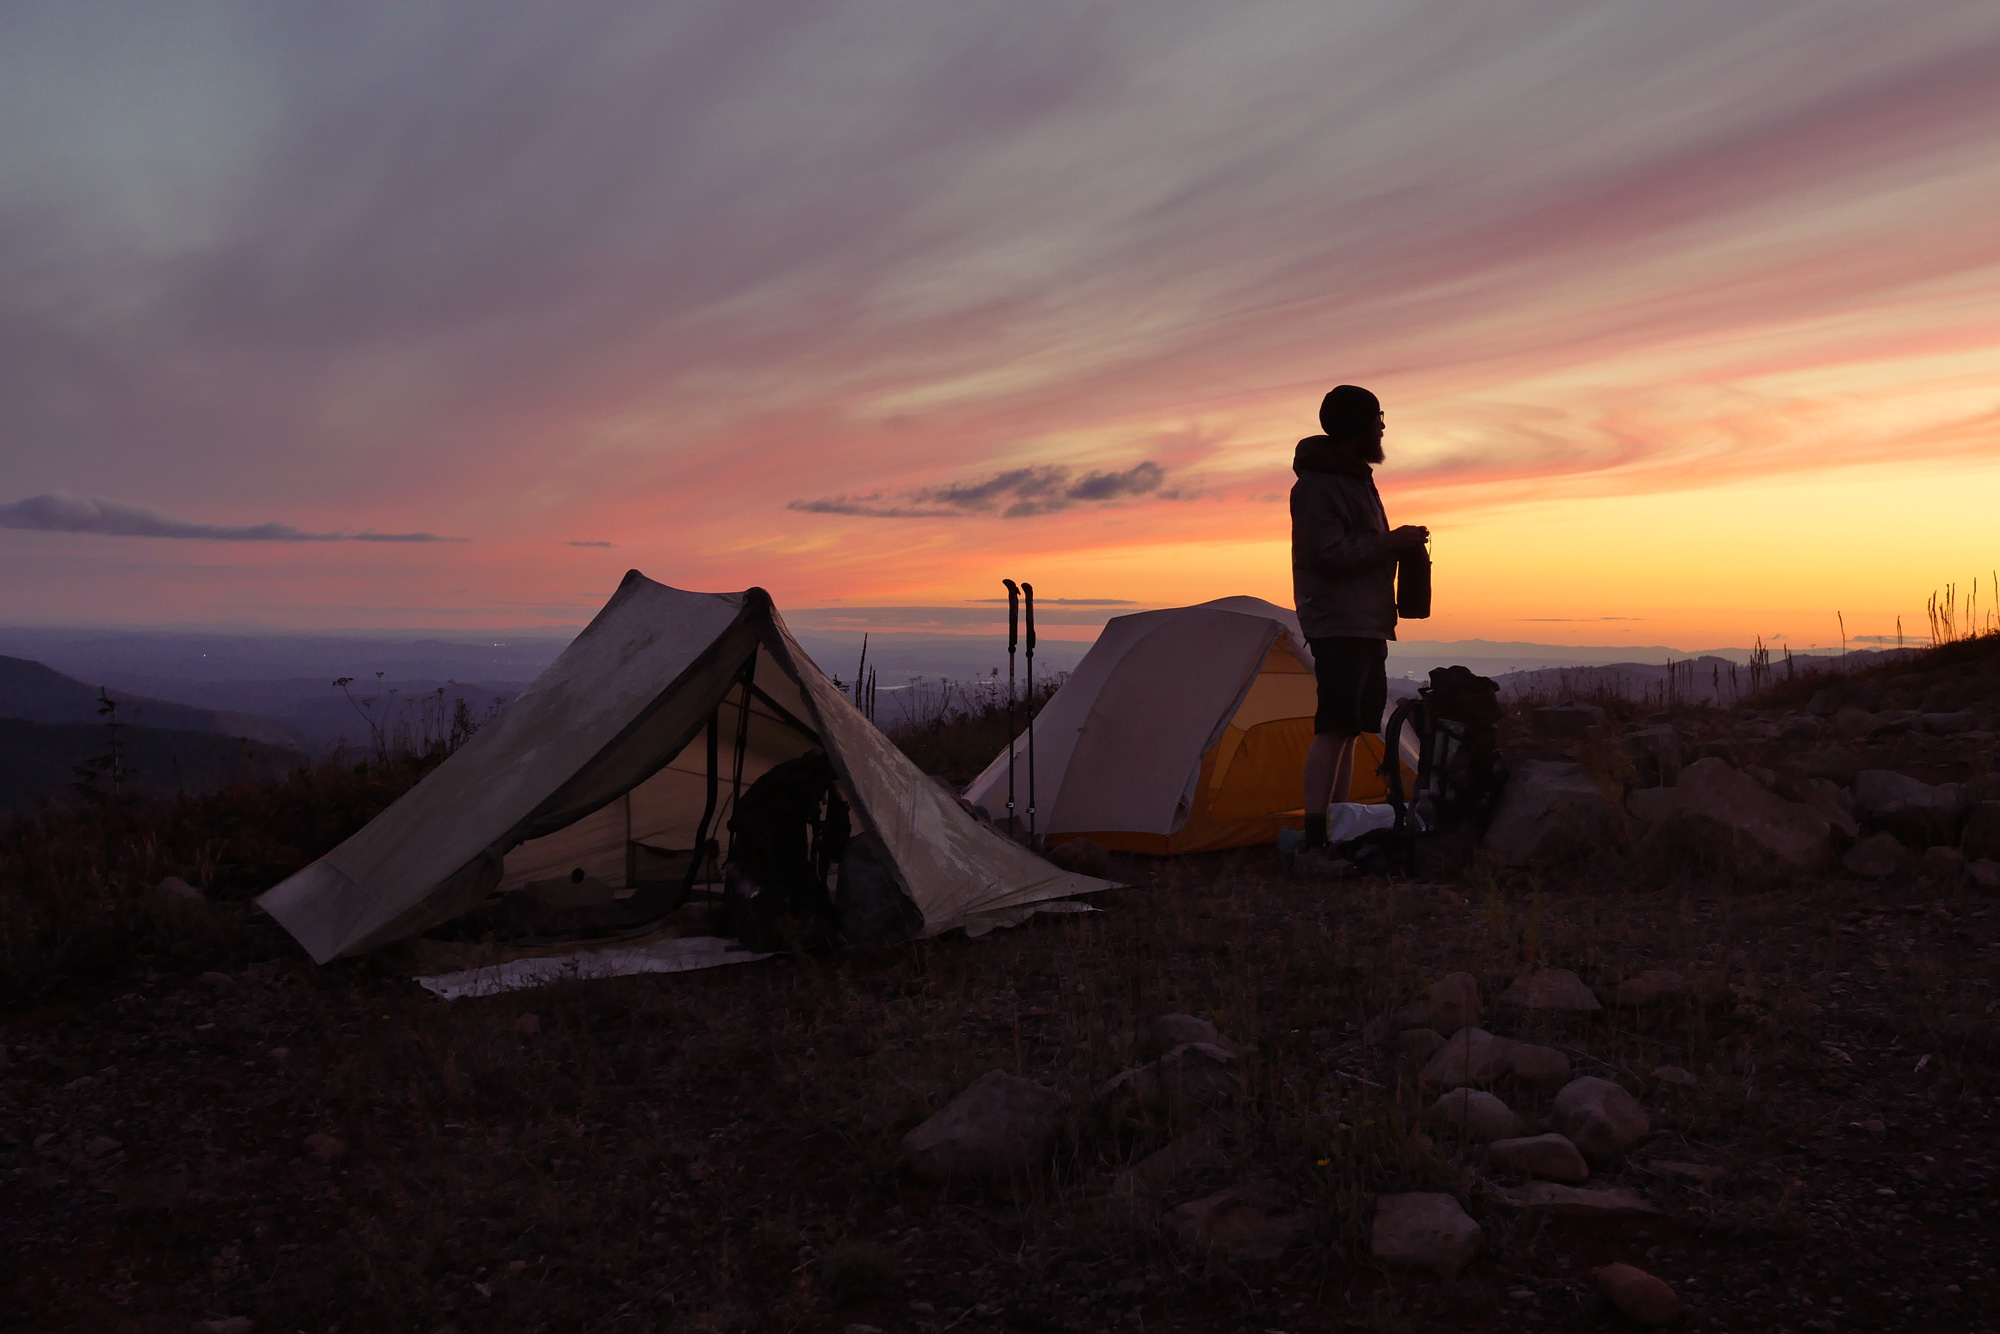
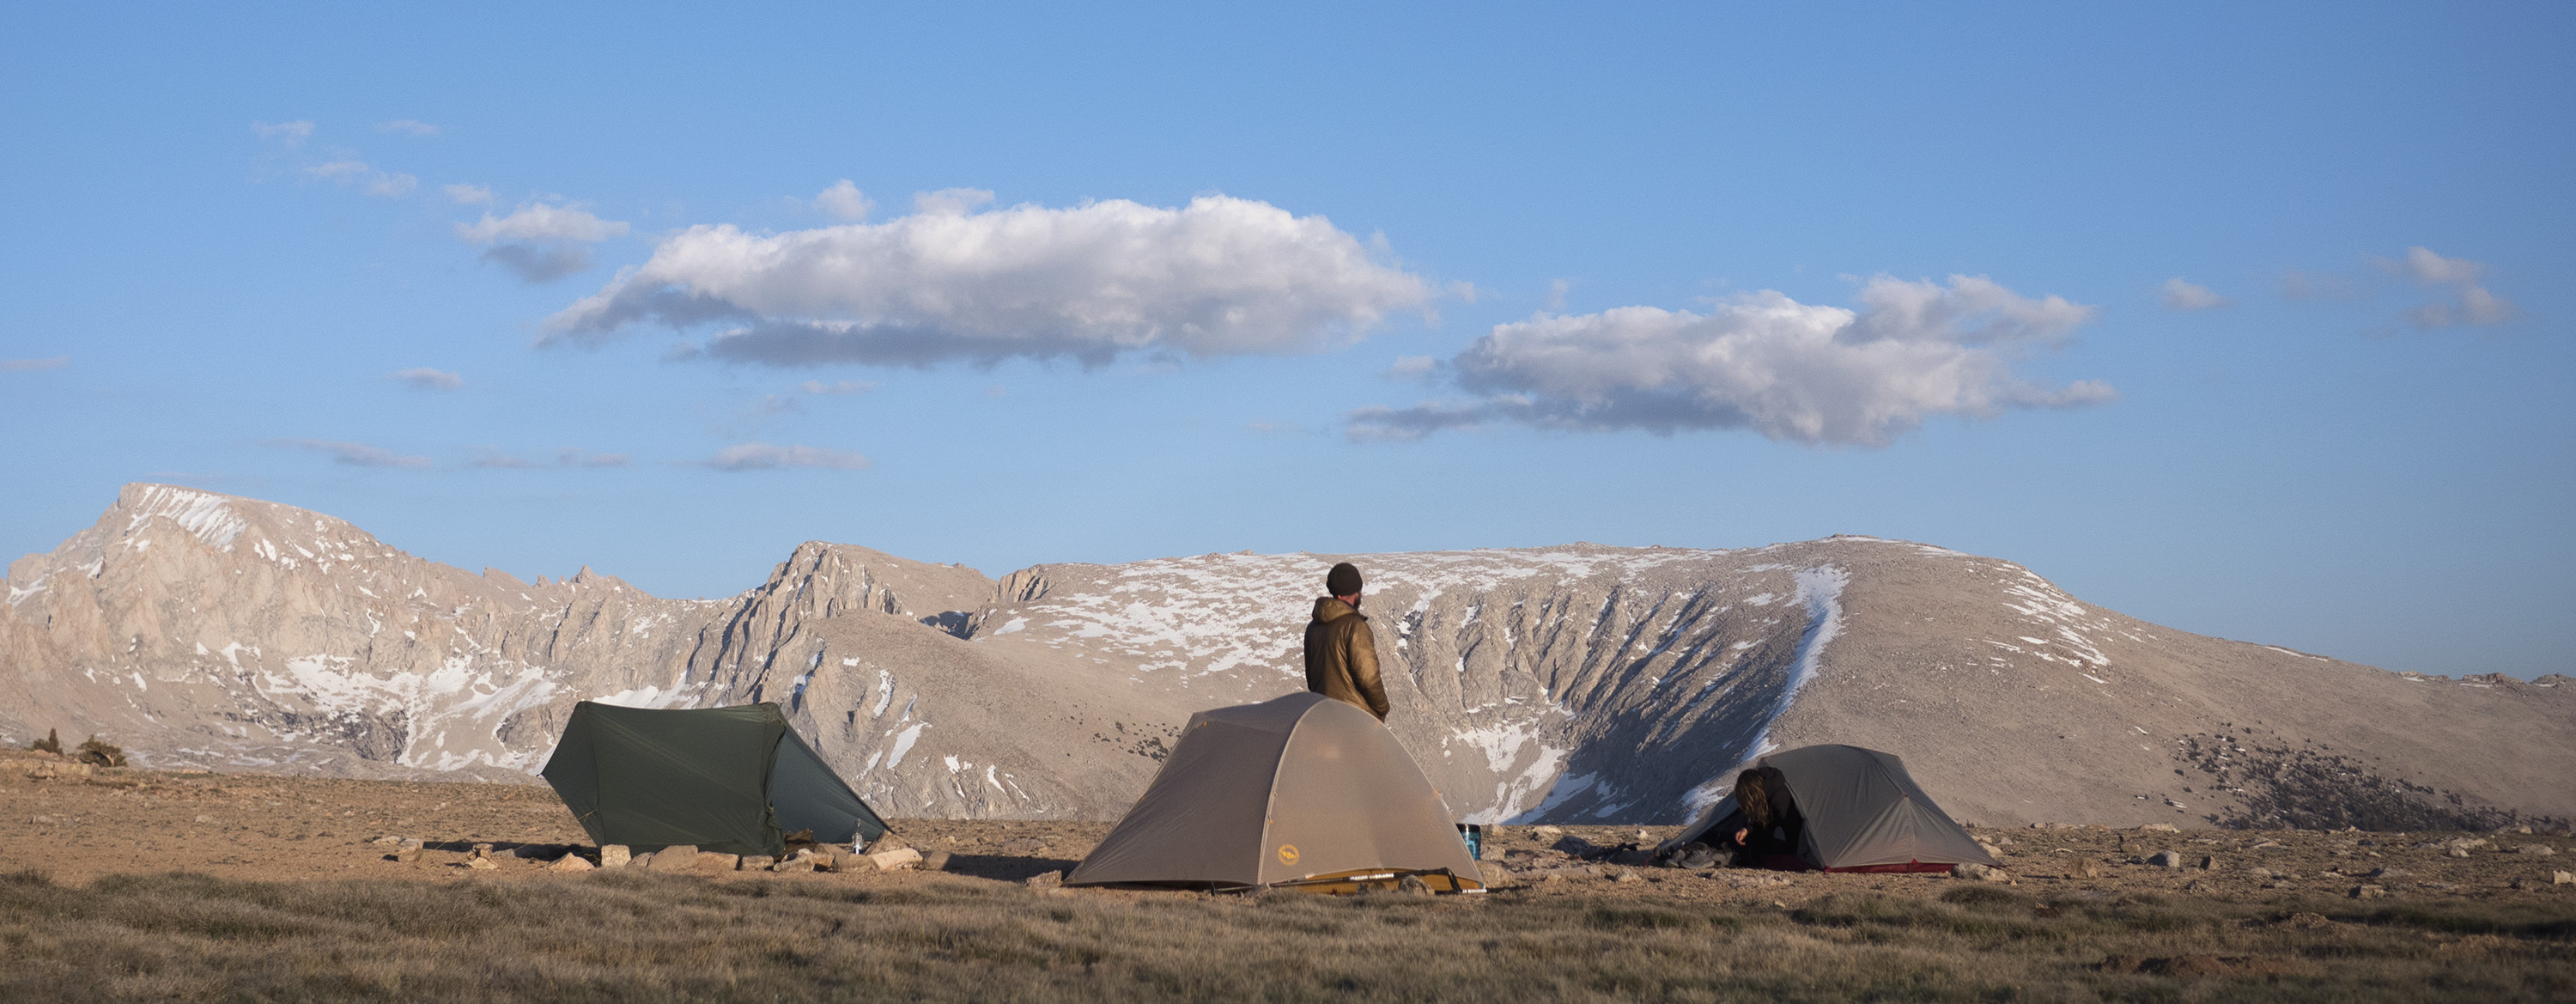
MY HOME
Overall I really like “The One” and am happy it was the shelter I chose to hike the PCT with. It saved me a great deal of weight, packs down small and stood strong over the entire trip. Unlike some of its competitors I saw on the trail it pitches out sturdy and has a classic look. The size is great and ideal for hiding out in the rain. Condensation is an ass kicker as with all single wall shelters but “The One” does it’s best to dry quickly and keep this to a minimum. Calling “The One” my home for 6 months was a pleasure and I can’t wait to see how Gossamer Gear improves upon this design in the future.